Picture this: a midnight craving, a half‑baked pizza that turns into a disaster, and you, armed with nothing but a handful of tortillas and a sense of adventure, deciding to make something delicious. The kitchen was a mess, but the scent of cumin and garlic already started to paint a new story in the air. I swear the timer on the oven clicked like a countdown to flavor fireworks. That moment taught me that the best meals often come from a dash of courage and a lot of sauce. Let’s turn that chaos into a culinary triumph.
First, I had to admit that my taco shells were more like paper than pastry. The crunch I was after had to come from the oven, not from a skillet. I reached for a simple, no‑fuss method that turns ordinary tortillas into a crispy, golden shell. The result? A shell that crackles like a fresh snowflake when you bite into it. And the aroma? It’s like a warm hug that invites everyone to the table.
Why is this version a game‑changer? Because it balances the savory, the fresh, and the crunchy in a single bite. I’ve seen people struggle with soggy tacos, but this recipe keeps the edges crisp while the filling stays juicy. The secret sauce—a quick blend of lime juice, cilantro, and a splash of olive— coats the filling like velvet. I dare you to taste this and not go back for seconds. Trust me, the first bite is addictive, the second is a revelation, and the third is the moment you realize you’re done.
Most recipes get this completely wrong, focusing on the filling while neglecting the shell. Here, the shell is the star that holds everything together. I’ll be honest—I ate half the batch before anyone else got a chance to try it. Picture yourself pulling this out of the oven, the whole kitchen smelling incredible, and the family scrambling to grab a plate. Stay with me here—this is worth it, and by the end, you’ll wonder how you ever made it any other way.
What Makes This Version Stand Out
- Bold Flavor: The combination of cumin, garlic, and lime creates a punch that wakes up the palate instantly. It’s not just seasoning; it’s a flavor statement that keeps you coming back for more.
- Crispy Texture: Baking the tortillas at high heat gives them a crunch that’s hard to beat. The shell remains firm while the filling stays moist, providing the perfect contrast in every bite.
- Minimalist Ingredients: You only need a handful of staples, no exotic pantry finds. This makes the recipe accessible for anyone, even those who are new to cooking.
- Time‑Saving Method: The oven does the heavy lifting, freeing you to focus on other dishes or simply relax. In less than 45 minutes, you’ll have a complete meal ready to serve.
- Kid‑Friendly: The flavors are mild yet satisfying, and the crispy shell is a hit with children who love a good crunch. It’s a family‑friendly dish that never fails.
- Fresh Ingredients Matter: Using ripe tomatoes and crisp lettuce elevates the dish, adding brightness that balances the savory meat.
- Make‑Ahead Friendly: The filling can be prepared a day ahead, and the tacos can be assembled just before baking. This flexibility makes it perfect for busy weeknights.
Inside the Ingredient List
The Flavor Base
Ground Beef: The heart of the dish, it absorbs the spices and stays juicy. If you prefer a leaner option, swap for ground turkey or chicken. Skipping the meat will leave you with a shell and a sauce; the tacos will feel incomplete.
The Texture Crew
Tortillas: Opt for fresh, soft flour tortillas to start. Aged tortillas can crack, ruining the crunch. If you’re in a hurry, a quick warm in a damp paper towel keeps them pliable.
The Unexpected Star
Lime Juice: It brightens the entire dish and prevents the meat from drying out. A squeeze of fresh lime is better than bottled; the acidity cuts through the richness. If you’re out of limes, a splash of white wine vinegar works in a pinch.
The Final Flourish
Cilantro: Adds a fresh herbal note that lifts the heaviness of the beef. Use whole leaves for a milder flavor, or chop finely for an intense burst. If you’re cilantro‑phobic, parsley is a decent stand‑in.
Everything's prepped? Good. Let’s get into the real action.
The Method — Step by Step
- Preheat the oven to 400°F (200°C). Line a baking sheet with parchment or a silicone mat to avoid sticking. Let the oven heat up while you prepare the filling so everything moves smoothly. The high temperature is key to crisping the shells. If the oven is too cool, the tortillas will become soggy.
- Brown the ground beef. Heat a large skillet over medium heat and add the beef. Break it apart with a spoon until it’s fully cooked and no longer pink. Drain excess grease to keep the tacos from becoming greasy. Season with taco seasoning, salt, and pepper, stirring until the mixture is fragrant. This step forms the savory foundation.
-
Whisk the lime‑cilantro sauce. In a small bowl, combine lime juice, chopped cilantro, a splash of olive oil, and a pinch of salt. Whisk until the oil emulsifies with the citrus. The sauce should coat the filling like velvet. If it’s too thick, add a splash of water.
Kitchen Hack: Use a small whisk or even a fork; the key is to combine the ingredients quickly to prevent separation.
- Warm the tortillas. Place them in a dry skillet over low heat for about 20 seconds each side, or wrap them in a damp towel and microwave for 15 seconds. The goal is pliability without moisture. This step prevents the shells from cracking when you fill them. If they’re still stiff, give them a second minute on the skillet.
-
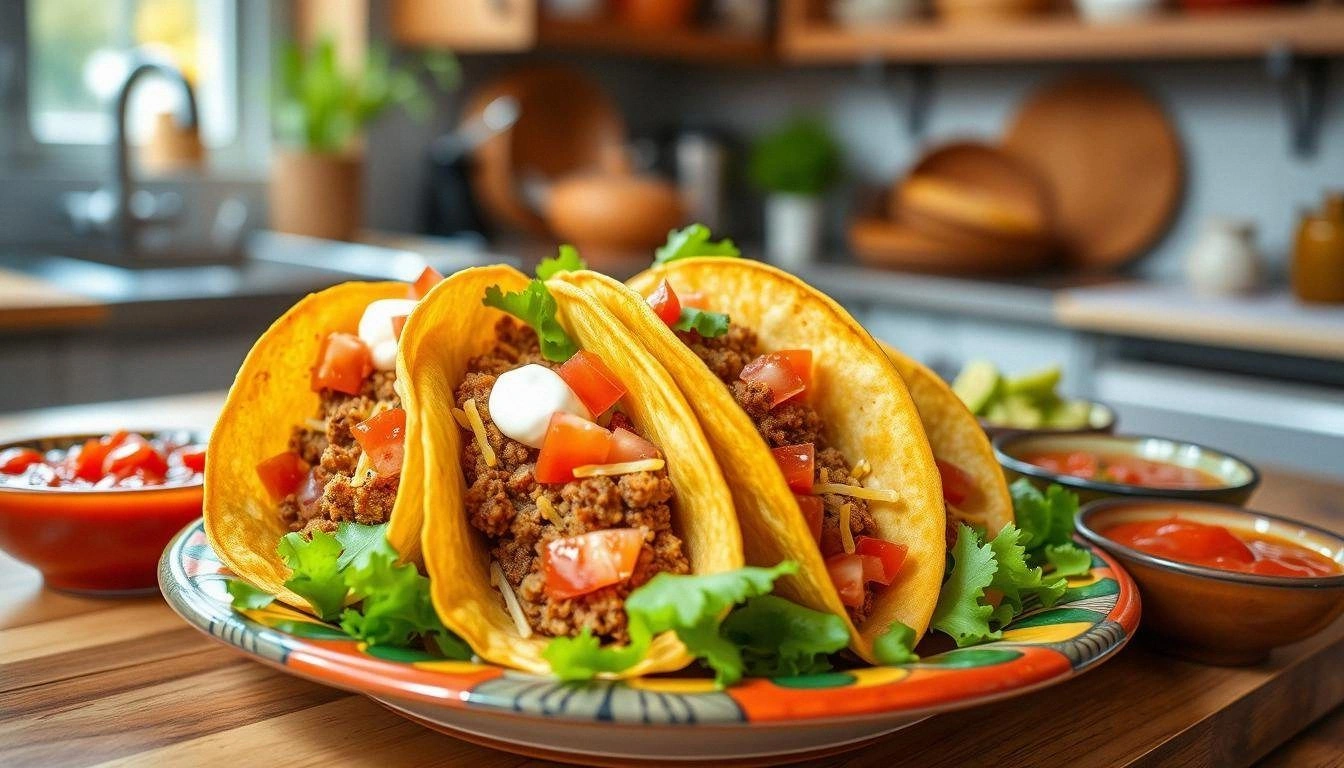
Assemble the tacos. Spoon a generous amount of seasoned beef onto each tortilla. Drizzle half of the lime‑cilantro sauce over the meat. Top with shredded lettuce, diced tomatoes, and a sprinkle of cheddar cheese. The layering is crucial; too much filling can collapse the shell.
Kitchen Hack: Keep a small bowl of water nearby to moisten any dry tortillas before they go into the oven.
- Arrange on the baking sheet. Place the assembled tacos on the prepared sheet, spacing them slightly to allow air circulation. The heat will caramelize the edges, creating a golden crust. Watch the color change; it’s a sign the crunch is forming. If you’re baking many, flip them halfway through to ensure even crisping.
-
Bake until crisp. Slide the sheet into the oven and bake for 12–15 minutes. The shells should be golden and the cheese melted. Watch out for the cheese; if it browns too fast, cover the tacos with foil. The aroma at this point is irresistible, making it hard to resist checking on them too early.
Watch Out: The oven can be hot; use mitts and a heat‑resistant glove to avoid burns when removing the sheet.
- Add fresh toppings. Remove from the oven and immediately top each taco with a dollop of sour cream, a sprinkle of chopped cilantro, and a squeeze of lime. The fresh toppings add a cool contrast to the warm shell and meat. If you prefer a creamy texture, add a bit of guacamole as well. The final touch is what makes each taco memorable.
- Serve immediately. The tacos are best when hot and crisp. Plate them on a warmed dish to keep the shells from softening. Offer a side of salsa, guacamole, or a simple lime wedge for extra zing. The first bite is a burst of flavor, the second a satisfying crunch, and the third—well, that’s the part you’ll remember for days.
That’s it — you did it. But hold on, I’ve got a few more tricks that’ll take this to another level.
Insider Tricks for Flawless Results
The Temperature Rule Nobody Follows
Why it matters: Many cooks set the oven too low, hoping for a slower bake. This actually makes the shells soggy. I discovered that 400°F (200°C) is the sweet spot for crisping without drying out the filling. Keep the temperature consistent, and you’ll get a uniform crunch. If you’re using a convection oven, lower the temperature by 25°F to avoid over‑browning.
Why Your Nose Knows Best
Smell is a guide: The moment the cheese starts to melt, the aroma signals that the taco is ready. If you’re unsure, pause for a quick sniff; it should smell buttery and slightly smoky. This sensory checkpoint saves you from over‑baking and ruining the texture. Trust your nose, not the clock.
The 5-Minute Rest That Changes Everything
Resting the tacos: Let the tacos sit for five minutes after baking. This allows the juices to redistribute, preventing a dry bite. The rest also gives the cheese a chance to set, so it doesn’t run off when you add toppings. A quick pause makes a noticeable difference in taste and texture.
The Quick Cooling Trick
Cooling on a rack: Place the tacos on a wire rack to cool slightly before adding fresh toppings. This prevents condensation from softening the shells. It also gives the taco a moment to firm up, so the crunch is preserved. If you’re serving immediately, skip the rack, but the result will still be great.
The Topping Timing
When to add: Fresh lettuce and tomatoes should go on last, right before serving. Adding them earlier can make the tortillas soggy. The same goes for sour cream; wait until the tacos are out of the oven. This simple timing hack ensures every bite is crisp and flavorful.
Creative Twists and Variations
Veggie Supreme
Swap the meat: Use sautéed bell peppers, onions, and black beans for a hearty vegetarian option. The spices remain the same, giving the dish depth. The texture changes slightly but still delivers that satisfying crunch. This version is perfect for plant‑based diners.
Chicken Fajita
Chicken twist: Marinate diced chicken breast in lime juice and paprika before cooking. The result is a zesty, slightly smoky flavor that pairs well with the crispy shell. The chicken stays tender, and the taco feels like a fajita in disguise.
Beef & Black Bean
Double protein: Add a cup of cooked black beans to the seasoned beef. The beans add fiber and a subtle earthiness. The combination creates a more filling taco that satisfies even the heartiest appetite.
Shrimp & Avocado
Seafood variation: Replace beef with shrimp cooked in garlic and chili flakes. Top with sliced avocado for a creamy contrast. The shrimp’s sweet undertone complements the lime‑cilantro sauce, creating a fresh, oceanic flavor profile.
Breakfast Taco
Morning makeover: Use scrambled eggs instead of beef, and add diced ham or bacon for protein. Sprinkle with shredded cheddar and a dash of hot sauce. This breakfast version turns the tacos into a quick, satisfying morning meal.
Gluten‑Free
Gluten‑free shell: Swap flour tortillas for corn tortillas or a gluten‑free tortilla brand. The flavor stays the same, but the texture is slightly different. Make sure the tortilla is fresh to avoid a soggy shell.
Storing and Bringing It Back to Life
Fridge Storage
Keep it fresh: Store the assembled tacos in an airtight container for up to 2 days. If you prefer to keep the shells crisp, store the filling separately and assemble before serving. The tortilla will retain its crunch for a short period when kept dry.
Freezer Friendly
Freeze with care: Freeze the filling and tortillas separately in freezer bags. When ready, thaw overnight in the fridge, then bake at 400°F for 12 minutes. The tacos will taste almost as fresh as when they’re first made. Avoid refreezing once thawed.
Best Reheating Method
Reheat to perfection: Place the tacos on a baking sheet and warm at 350°F for 5 minutes. Add a splash of water to the sheet to create steam, which keeps the tortillas from drying out. This simple trick restores the original crispness and flavor.
Serving Suggestions
Plate it up: Serve the tacos on a platter with a small bowl of salsa and a lime wedge on the side. The visual appeal adds to the dining experience, making the meal feel special. If you’re hosting a crowd, consider setting up a taco bar where guests can customize their toppings.
Side ideas: Pair the tacos with a light corn salsa or a simple cucumber salad to balance the richness. A chilled glass of Mexican beer or a sparkling agua fresca complements the flavors perfectly. The side dish should be refreshing, not heavy.
Presentation tip: Arrange the tacos in a circular pattern, slightly overlapping, to create a dynamic look. Sprinkle extra cilantro or a dusting of chili powder for color. The finished plate should look as good as it tastes.