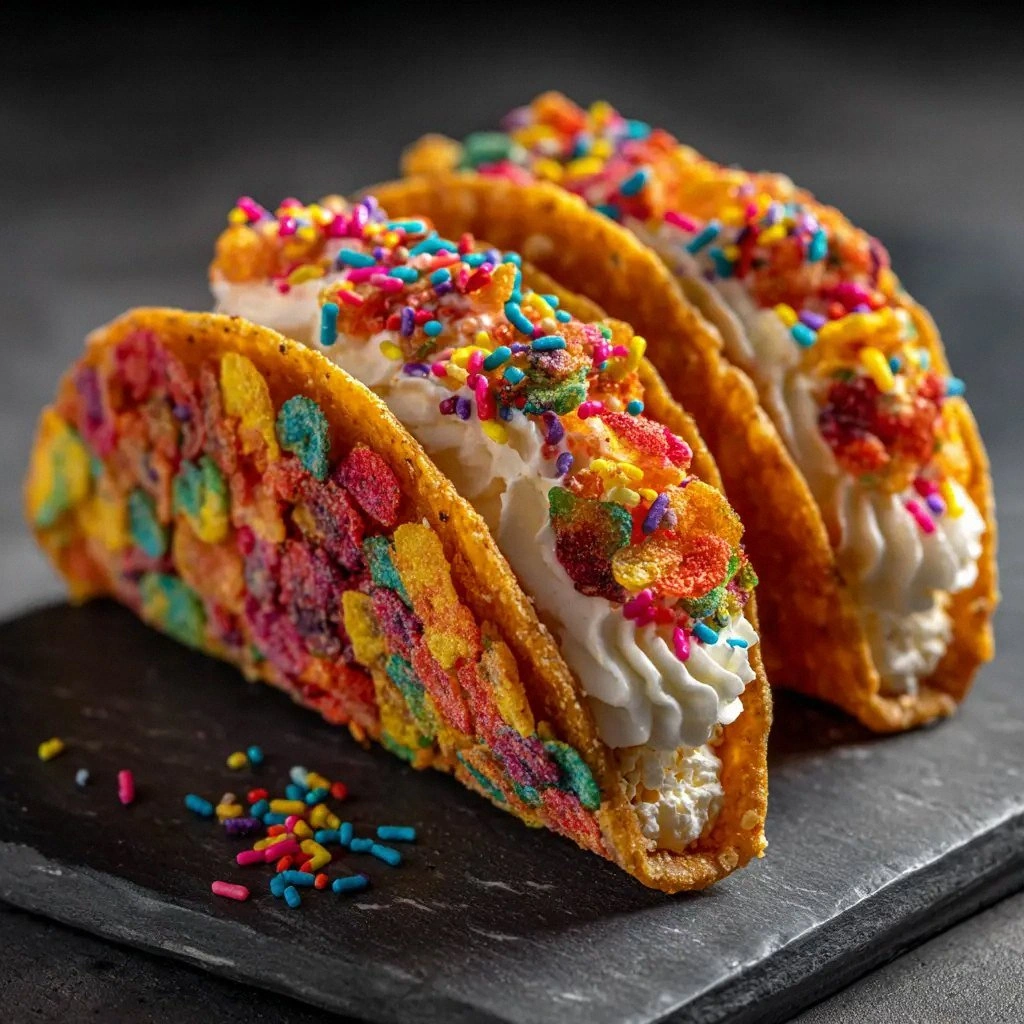
I still remember that night when I was juggling a dozen casseroles, a blender that had more crumbs than the kitchen counter, and a sudden craving for something that felt like a childhood memory and a grown‑up indulgence all at once. The kitchen was a cacophony of sizzling pans, the clink of plastic utensils, and the faint, sugary perfume of a forgotten cereal aisle. I stared at the fridge, eyes flicking to the box of Fruity Pebbles, and thought, “What if I could turn that rainbow crunch into a dessert that feels like a taco?” The result was a revelation: a no‑bake, bite‑size fiesta that blends the nostalgia of a classic cheesecake with the playful pop of a breakfast cereal. It’s the kind of dish that turns a regular Sunday into an edible celebration.
Picture this: the moment the taco shells hit the countertop, the faint crackle of the melted wafers, the buttery scent of cream cheese mingling with vanilla, and the unmistakable crunch of Fruity Pebbles that jumps out with each bite. The texture is a delightful paradox—soft, creamy filling wrapped in a crisp shell, topped with a rainbow of cereal that adds a satisfying snap. I dare you to taste this and not go back for seconds. That first bite feels like a childhood memory with a grown‑up twist, and it’s hard to stop. The flavor profile is balanced, with the sweetness of the cereal offset by the subtle tang of cream cheese and the airy lift of whipped cream.
What makes this version stand out from every other recipe out there is the meticulous layering of flavors and textures. The taco shells are not just a vessel; they’re a crunchy canvas that holds the creamy filling and the cereal topping. The use of white melting wafers creates a buttery, slightly caramelized base that adds depth, while the Fruity Pebbles provide a bright, fruity contrast. I’ve perfected the ratio to avoid any one element overpowering the others, and the result is a harmonious bite that feels like a well‑orchestrated symphony. And the best part? It’s entirely no‑bake, which means you can whip it up in minutes and serve it at the last minute, making it an ideal crowd‑pleaser for parties, potlucks, or a spontaneous dessert craving.
If you’ve ever struggled with making a dessert that’s both indulgent and quick, you’re not alone—and I’ve got the fix. This recipe is hands down the best version you’ll ever make at home. I’ll be honest—I ate half the batch before anyone else got to try it. Most recipes get this completely wrong by either over‑baking the shells or under‑whipping the cream. Here’s what actually works: a gentle melt, a careful fold, and a chill that lets everything set just right. Picture yourself pulling this out of the fridge, the whole kitchen smelling incredible, and seeing those rainbow pebbles gleam on top. Stay with me here—this is worth it.
What Makes This Version Stand Out
- Crunch: The taco shells are baked just enough to achieve a light, crisp texture that holds the creamy filling without becoming soggy. This delicate crunch is the foundation of the entire bite.
- Flavor Balance: The sweet Fruity Pebbles are tempered by the tang of cream cheese and the subtle vanilla, creating a complex but harmonious flavor profile.
- Visual Appeal: The rainbow of cereal on top turns every taco into a mini works of art—colorful, eye‑catching, and Instagram‑ready.
- No-Bake Simplicity: With no oven required, you can assemble this dessert in under 15 minutes and chill it for 30 minutes, making it perfect for last‑minute entertaining.
- Make‑Ahead Potential: The filling can be prepared a day in advance, and the shells can be stored in an airtight container, allowing you to assemble the tacos only when you’re ready to serve.
- Kid‑Friendly: The sweet, colorful presentation and familiar flavors make it a hit with children and adults alike.
Alright, let's break down exactly what goes into this masterpiece...
Inside the Ingredient List
The Flavor Base
The 8 Stand 'N Stuff Taco Shells are the backbone of this dish. They provide a sturdy, buttery foundation that balances the creamy filling. If you’re looking for a gluten‑free alternative, try corn tortillas rolled into taco shapes and lightly fried to crispness. The shells should be warm enough to hold the filling but not hot enough to melt the cream cheese.
The Texture Crew
The 10 oz White Melting Wafers create a silky, caramelized layer that adds depth and richness. They dissolve into a buttery sauce that coats the shell, giving it a mouth‑watering sheen. If you can’t find white wafers, a blend of vanilla wafers and graham crackers works as a close substitute. The key is to melt them just until they’re gooey but not browned.
The Unexpected Star
Fruity Pebbles Cereal is the star that turns a simple cheesecake into a carnival of colors. The 3 cups of cereal provide a bright, fruity crunch that contrasts beautifully with the smooth filling. If you’re in a pinch, use any colorful breakfast cereal with a similar bite. Just be sure to reserve ½ cup for the topping so the flavor remains balanced.
The Final Flourish
The 8 oz Cream Cheese, 1 cup Powdered Sugar, 1 cup Heavy Whipping Cream, and 1 tsp Vanilla Extract combine to create a luscious, velvety filling that feels like a mini cheesecake. The heavy cream is folded in slowly to maintain volume and prevent curdling. If you’re vegan, substitute with a plant‑based cream cheese and a non‑dairy whipping cream, though the texture will differ slightly.
Everything's prepped? Good. Let's get into the real action...
The Method — Step by Step
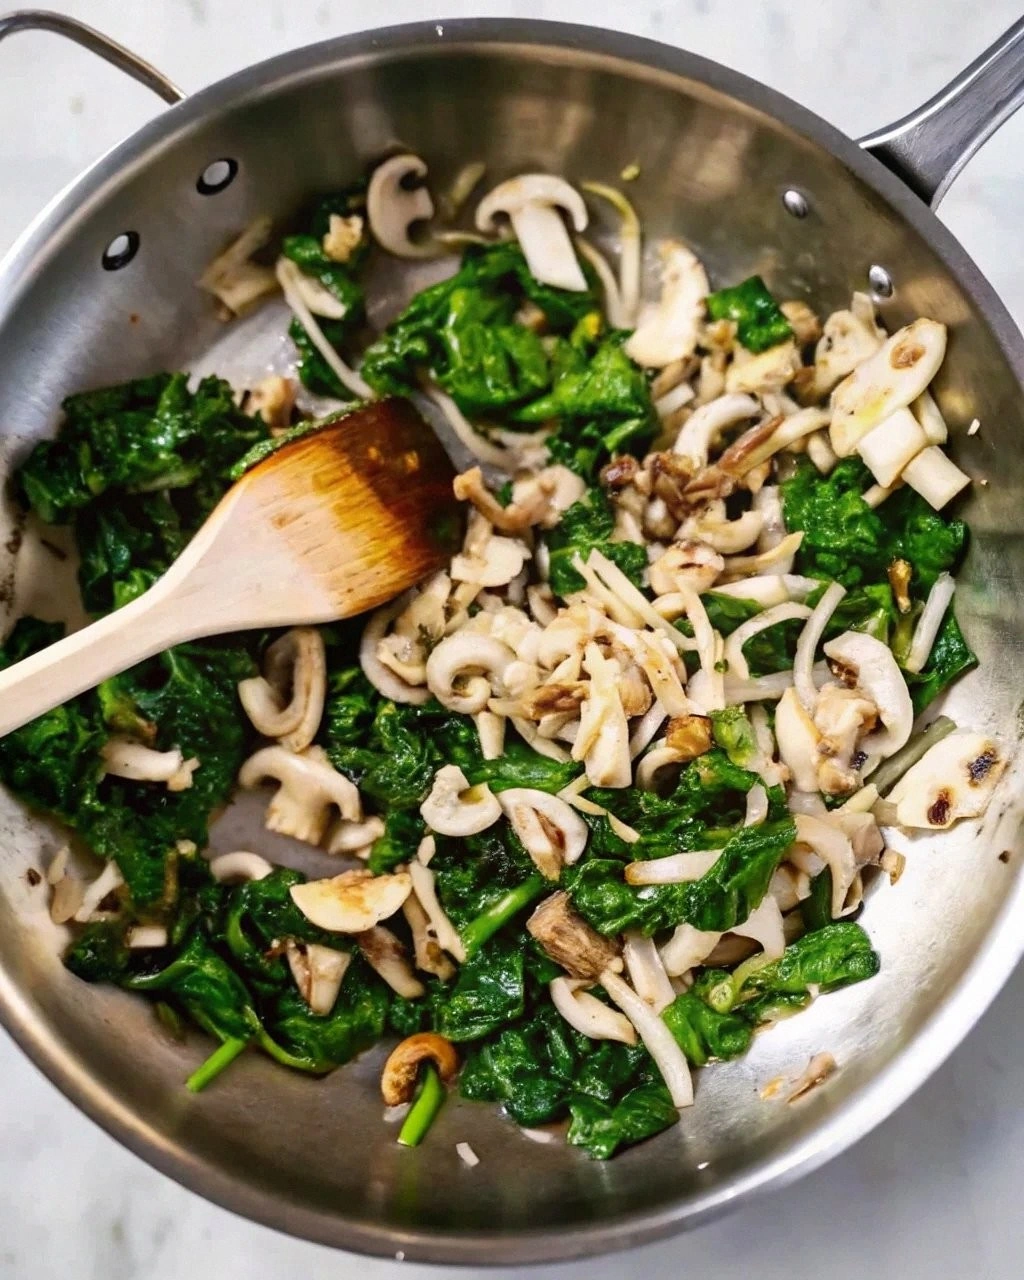
- First, preheat a skillet over medium heat and add the white melting wafers. Gently stir them until they begin to melt, forming a smooth, buttery sauce. Keep the heat low to avoid scorching; you want a glossy coating that will cling to the taco shells. Once the wafers are melted, pour the mixture into a shallow dish and let it cool slightly.
- While the wafers cool, whisk the cream cheese until it’s silky smooth. Add the powdered sugar and vanilla extract, blending until there are no lumps. The goal is a dense, creamy base that won’t separate when folded with the whipped cream. If you notice any graininess, give it a quick pass through a fine sieve.
- In a separate bowl, whip the heavy cream until it holds soft peaks. This step is crucial; over‑whipped cream will become buttery and lose its lightness. Fold the whipped cream into the cream cheese mixture gently, using a spatula in a circular motion. The filling should be airy yet firm enough to hold its shape.
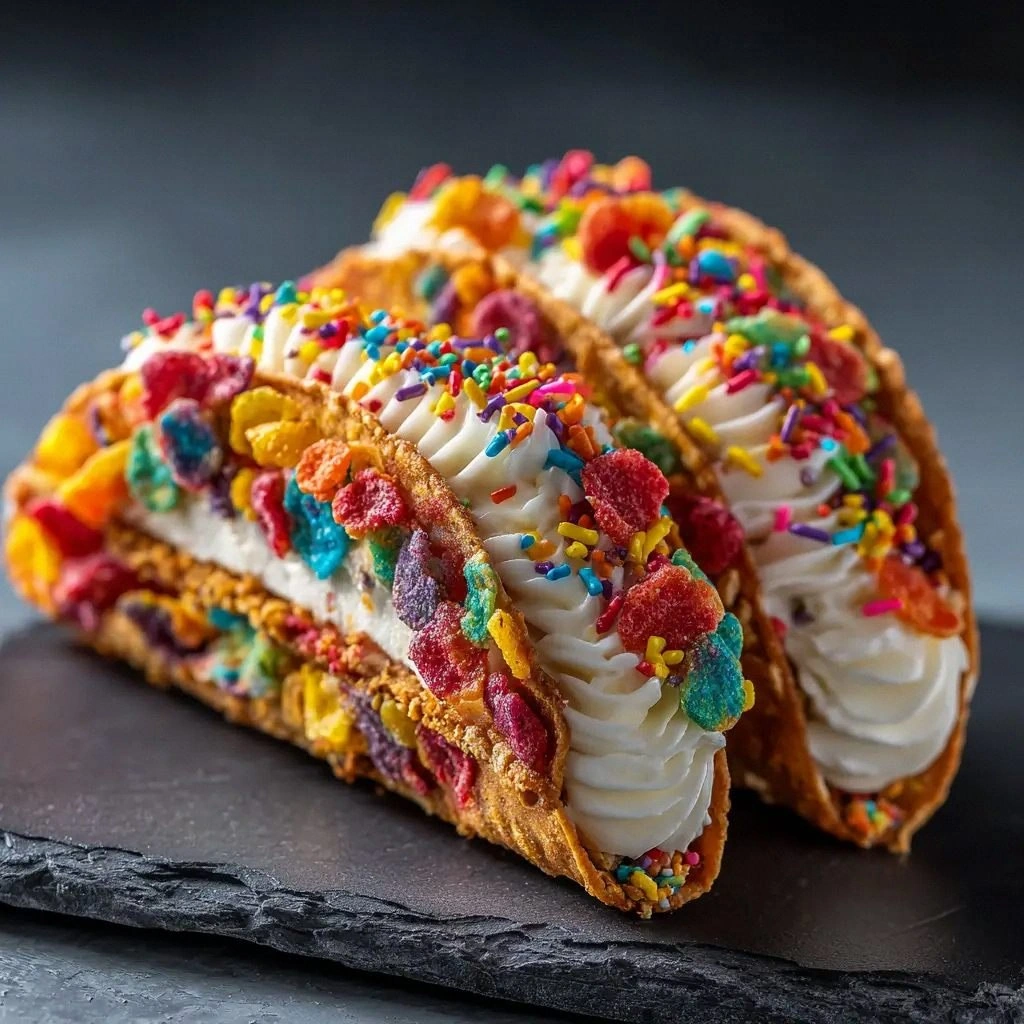
- Now, take each taco shell and brush it lightly with the melted wafer sauce. This step ensures the shell stays crisp and adds an extra layer of flavor. Place the shell on a plate, filling it with a generous spoonful of the cream cheese mixture. The filling should reach the top of the shell, creating a mini cheesecake.
- Once all shells are filled, sprinkle the reserved ½ cup of Fruity Pebbles evenly over each taco. The cereal should be slightly dampened by the cream cheese, allowing it to adhere without falling off. This step turns each taco into a colorful, crunchy masterpiece.
- Refrigerate the assembled tacos for at least 30 minutes, or until the filling is set. This chilling step is essential; it allows the flavors to meld and the texture to firm up. If you’re in a hurry, a quick 10‑minute chill will suffice, but the longer you wait, the better the result.
- Before serving, give the tacos a quick visual inspection. The shells should be golden brown, the filling should be firm, and the Fruity Pebbles should be vibrant. If you notice any shell cracks, gently press them with a clean utensil to smooth them out.
- Serve immediately, preferably on a chilled platter. The contrast of the warm shells, the cool filling, and the bright cereal makes each bite a sensory explosion. If you’re feeling adventurous, drizzle a light raspberry coulis on top for an extra burst of flavor.
That’s it—you did it. But hold on, I’ve got a few more tricks that’ll elevate this dish from good to unforgettable.
Insider Tricks for Flawless Results
The Temperature Rule Nobody Follows
Temperature is everything when it comes to no‑bake desserts. Keep the cream cheese room temperature for 30 minutes before mixing; it blends smoother and reduces the chance of lumps. Likewise, chill the heavy cream in the freezer for 5 minutes before whipping. This small step ensures peaks hold, giving you that airy cheesecake texture. I once tried mixing everything at room temperature, and the result was a clumpy mess that didn’t set properly.
Why Your Nose Knows Best
The aroma of melted wafers is a subtle but powerful indicator of readiness. When the wafers begin to caramelize, a sweet, buttery scent will fill the air. Pause the heat at that moment; it’s the sweet spot. A faint, sweet aroma signals the perfect consistency—too hot and you’ll burn; too cool and the shells won’t hold. Trust your nose; it’s a seasoned judge of flavor.
The 5‑Minute Rest That Changes Everything
After filling the shells, let them rest for 5 minutes before chilling. This short pause allows the filling to settle, preventing the shells from becoming soggy. The rest also lets the flavors meld slightly, creating a deeper taste profile. I’ve seen people skip this step, and the result is a watery filling that loses its structure. Give it a minute; your tacos will thank you.
Keep the Cereal Crunch
If you want to preserve the crispness of the Fruity Pebbles, sprinkle them onto the tacos just before serving. The heat from the filling can soften the cereal, making it less crunchy. By adding the cereal at the last moment, you keep each bite crisp and vibrant. This trick is especially useful if you’re preparing the tacos ahead of time.
Use a Silicone Mat for Easy Cleanup
The melted wafers can be sticky and hard to clean. Place a silicone mat on the counter while you melt them; it prevents sticking and makes cleanup a breeze. The mat also protects your countertop from any accidental drips. I’ve found this hack saves time and keeps my kitchen spotless.
Creative Twists and Variations
This recipe is a playground. Here are some of my favorite ways to switch things up:
Chocolate Chip Crunch
Swap the Fruity Pebbles for chocolate chips and drizzle a thin layer of melted dark chocolate over the top. The chocolate adds richness and a slightly bitter contrast to the sweet filling. Kids love the chocolatey crunch, and adults appreciate the depth of flavor. It’s an instant crowd‑pleaser for chocolate lovers.
Minty Fresh
Add a teaspoon of peppermint extract to the cream cheese mixture and replace the Fruity Pebbles with crushed mint cereal. The mint creates a refreshing palate cleanser after each bite. It’s perfect for summer gatherings or a post‑dinner treat that feels lighter. The minty aroma also adds a subtle fragrance to the dish.
Berry Burst
Fold fresh blueberries and raspberries into the filling for a burst of tartness. Top with a sprinkle of dried cranberries for added texture. The berries give the dessert a natural sweetness and a pop of color. This variation is ideal for a spring or summer party.
Nutty Delight
Add chopped toasted almonds or pecans to the filling for a nutty crunch. Replace the Fruity Pebbles with a handful of toasted coconut flakes for a tropical twist. The nuts add a savory element that balances the sweet filling. It’s a great way to incorporate a bit of protein and healthy fats.
Spiced Caramel
Stir in a pinch of cinnamon and a splash of caramel sauce into the cream cheese mixture. Use a caramelized banana slice as a topping instead of Fruity Pebbles. The cinnamon adds warmth, while the caramel brings a silky sweetness. This version feels like a cozy dessert for cooler evenings.
Storing and Bringing It Back to Life
Fridge Storage
Store the assembled tacos in an airtight container in the refrigerator for up to 48 hours. Keep them on a chilled platter to maintain the crispness of the shells. If the tacos sit too long, the shells may become slightly soggy, so serve them within the first 24 hours for the best texture.
Freezer Friendly
For longer storage, you can freeze the filled shells without the Fruity Pebbles. Wrap each taco individually in plastic wrap and place them in a freezer bag. Thaw in the refrigerator overnight before topping with fresh cereal. This method keeps the filling firm and the shells intact.
Best Reheating Method
If you need to warm the tacos slightly, place them in a pre‑heated oven at 300°F for 5 minutes. The heat will restore a bit of crispness to the shells without melting the filling. Add a tiny splash of water to the batter before reheating; it steams the filling back to perfection and keeps it from drying out.