I was standing in my kitchen at 6 a.m., half-asleep, staring at a half‑finished batch of bland oat bars that tasted like cardboard with a hint of regret. My roommate had dared me to make something that could actually make us want to get out of bed, and I was like, “Challenge accepted, but I’m also going to need a miracle.” The next thing I knew, the whole apartment was filled with the scent of toasted oats, sweet cherries, and a whisper of toasted almonds that made my nose do a little happy dance. I swear I could hear the fridge humming in approval while the oven timer ticked down like a metronome for a sunrise symphony.
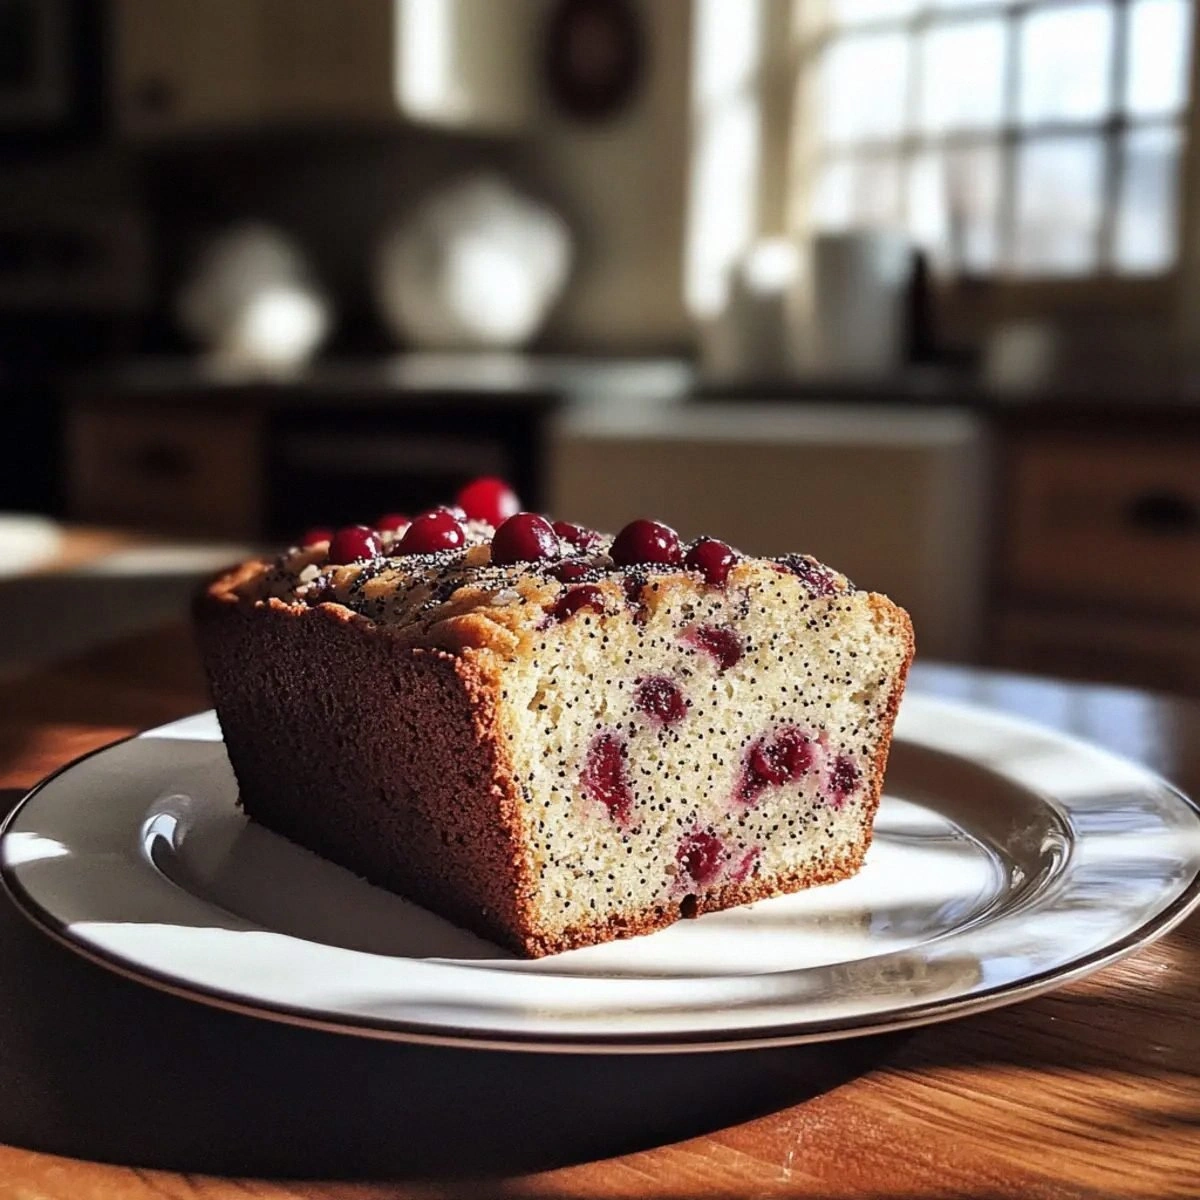
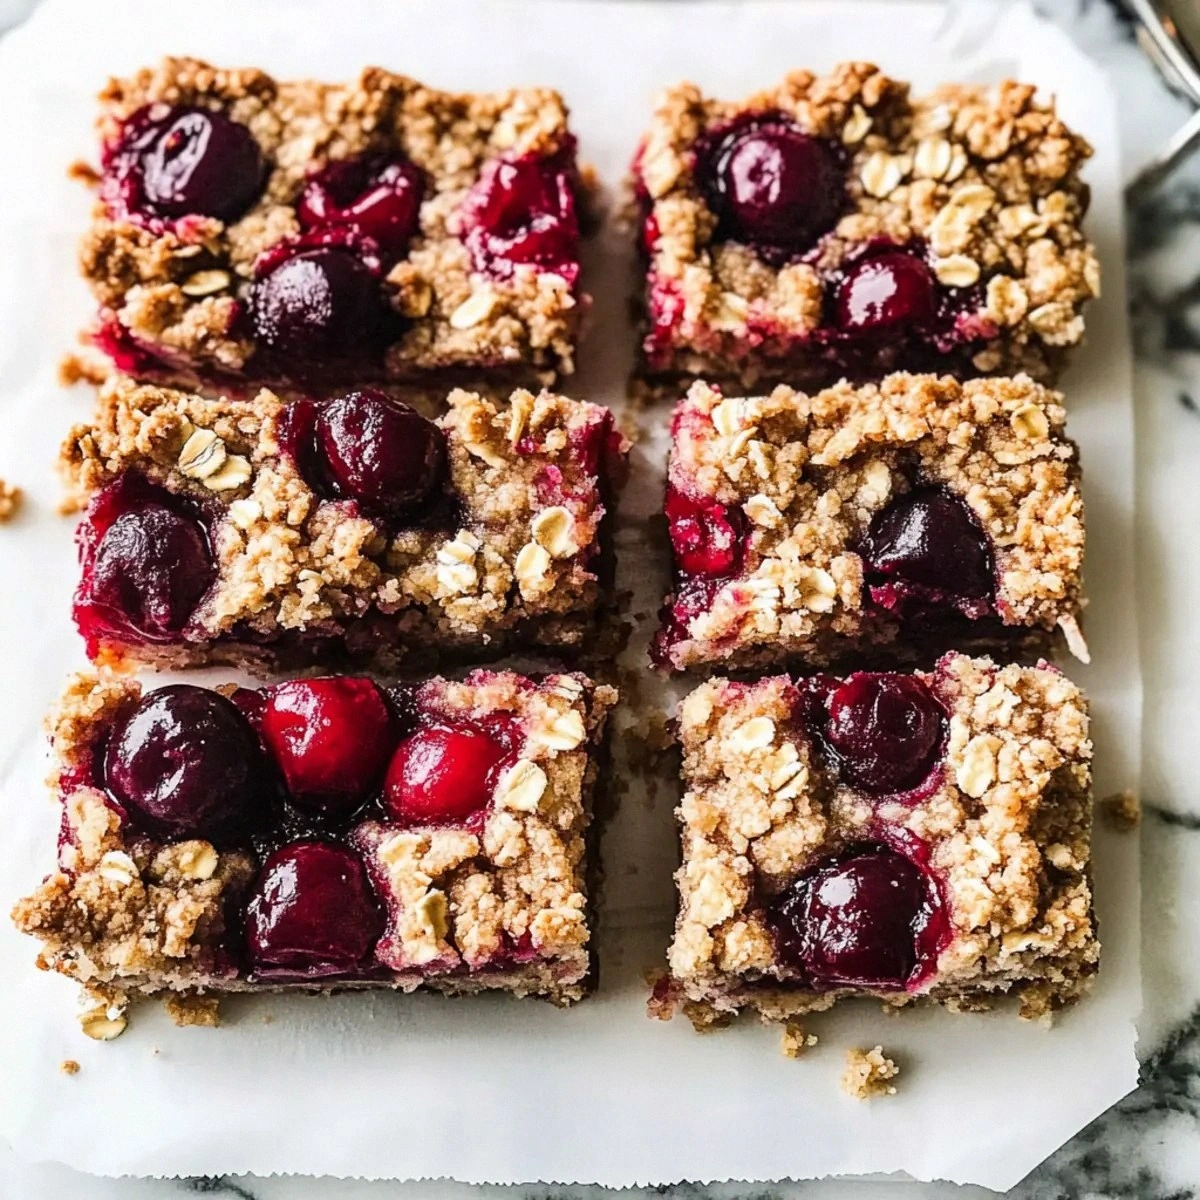
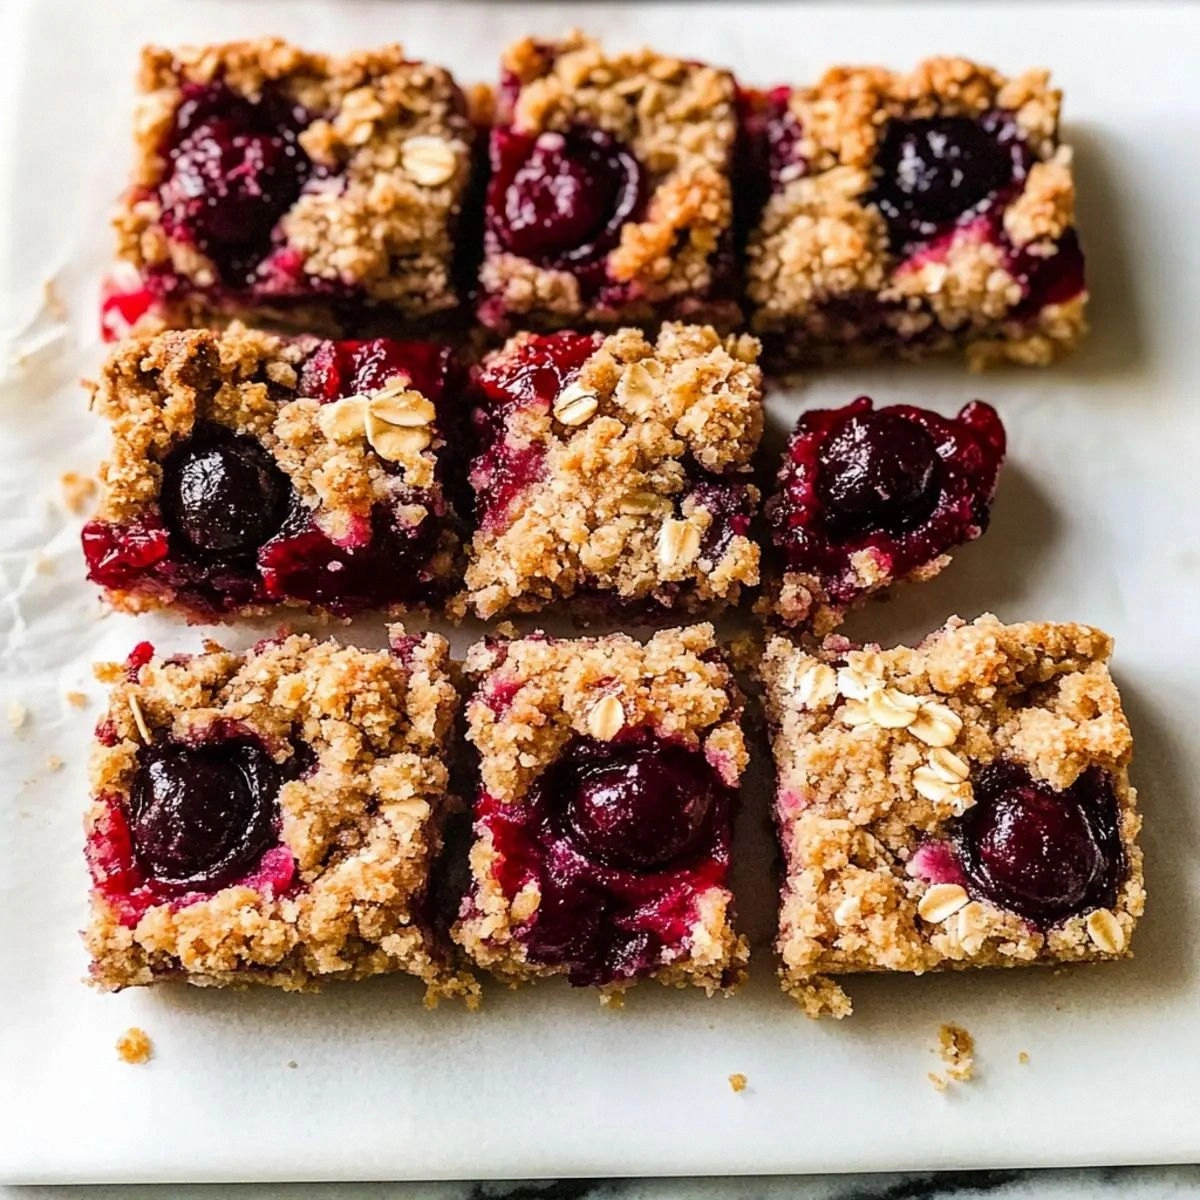
Picture this: a golden‑brown crust that cracks just enough to reveal a chewy, slightly sticky interior, studded with plump, juicy cherries that burst with a tangy‑sweet pop. The texture is a perfect marriage of crunchy almond bits and soft, oat‑y goodness, all bound together by a glossy maple‑lemon glaze that clings like a delicate veil. When you bite in, the first thing you notice is the caramelized edge that shatters like thin ice, followed by a warm, buttery melt that makes you want to close your eyes and sigh. The cherries, fresh from the Northwest, bring a bright, natural acidity that cuts through the richness, leaving your palate refreshed and ready for the day.
Most breakfast bar recipes get this completely wrong. They either drown everything in sugar, or they forget the crucial step of balancing moisture so the bars don’t turn into a soggy mess. I’ve tried a dozen versions that either crumbled like dry sand or stuck together like a rubber band. This version? Hands down the best you’ll ever make at home. It’s simple enough for a lazy Sunday, yet sophisticated enough to impress even the most discerning brunch crowd. The secret? A splash of lemon juice that lifts the cherry flavor, and a light dusting of cornstarch that keeps the bars from getting gummy.
I’ll be honest — I ate half the batch before anyone else got a chance to try them, and I’m still not sorry. I dare you to taste this and not go back for seconds. The combination of flavors and textures is so addictive that you’ll find yourself planning breakfast around these bars for weeks. Okay, ready for the game‑changer? Let me walk you through every single step — by the end, you’ll wonder how you ever made it any other way.
What Makes This Version Stand Out
- Flavor Explosion: The sweet‑tart cherries paired with maple‑lemon glaze create a bright, layered taste that dances on your tongue.
- Texture Harmony: Crunchy almond bits contrast with a soft, chewy oat base, delivering a satisfying bite every time.
- Simplicity: Only eleven ingredients, all pantry‑friendly, and no fancy equipment required.
- Uniqueness: The use of cornstarch as a moisture‑locking agent is a little‑known trick that keeps the bars perfectly tender.
- Crowd Reaction: Guests often claim these bars are “better than coffee” for a morning pick‑me‑up.
- Ingredient Quality: Northwest sweet cherries bring a natural sweetness that no frozen substitute can match.
- Cooking Method: Baking, not frying, means less mess, less oil, and that coveted golden‑brown edge.
- Make‑Ahead Potential: These bars keep beautifully for up to a week, making them perfect for busy mornings.
Inside the Ingredient List
The Flavor Base
The 2 cups of Northwest sweet cherries are the heart of this bar. Their natural sugars caramelize during baking, creating pockets of juicy sweetness that burst with each bite. If you skip the fresh cherries and opt for a frozen version, you’ll lose that bright, fresh pop and risk excess moisture. A good rule of thumb: thaw and pat them dry before folding them in. For the ultimate cherry experience, look for berries that are firm, glossy, and deep‑red—these have the highest sugar content and the best flavor.
The Texture Crew
Rolled oats (2 cups) give the bars a hearty, chewy backbone while keeping them wholesome. The 1/2 cup of chopped almonds adds a crunchy surprise that contrasts beautifully with the soft interior. If you’re allergic or simply don’t like nuts, try toasted pumpkin seeds or sunflower seeds for a similar crunch. Light brown sugar (3/4 cup) adds a caramel depth without overwhelming the cherries, and the 1/2 cup of melted coconut oil provides a buttery richness that stays solid at room temperature, giving the bars a stable structure.
The Unexpected Star
A teaspoon of baking soda is the hidden hero that lifts the bars, creating tiny air pockets that keep the crumb from turning dense. Paired with a pinch of salt, it amplifies all the flavors, making the sweet notes pop. The 2 tablespoons of lemon juice act like a flavor‑brightener, cutting through the sweetness and highlighting the cherries’ natural acidity. If you’re out of lemon, a splash of orange juice works, but expect a slightly different citrus profile.
The Final Flourish
Cornstarch (2 tablespoons) might look like a thickening agent, but here it absorbs excess cherry juice, preventing sogginess and keeping the bars tender. The 1 cup of flour binds everything together, creating that perfect crumb that holds its shape when sliced. Finally, the 1/4 cup of maple syrup adds a subtle, woodsy sweetness that pairs perfectly with the almond and oat base. If you’re avoiding maple, honey or agave work, but the flavor will shift slightly toward floral notes.
Everything's prepped? Good. Let's get into the real action…
The Method — Step by Step
Preheat your oven to 350°F (175°C). While the oven warms up, line a 9x13‑inch baking pan with parchment paper, letting the edges overhang for easy removal later. This little trick ensures you won’t have to wrestle the bars out of a sticky pan, and the parchment gives a gentle, even bake.
Kitchen Hack: Lightly grease the parchment with a spray of coconut oil; this adds a subtle flavor boost and prevents any sticking.In a large mixing bowl, combine the rolled oats, flour, light brown sugar, baking soda, and the pinch of salt. Give the dry mix a quick whisk with a fork—this aerates the flour and distributes the baking soda evenly, preventing any bitter pockets.
In a separate saucepan over low heat, melt the coconut oil, then stir in the maple syrup, lemon juice, and cornstarch. Keep the mixture moving until it turns glossy and just starts to thicken—this is your binding glaze. When you see the mixture coat the back of a spoon, you’re golden.
Watch Out: If the heat is too high, the coconut oil can separate, leaving a greasy layer that ruins the texture. Keep it low and steady.Pour the wet glaze over the dry oat mixture, stirring until every crumb is uniformly coated. The mixture will look slightly crumbly at first, then come together into a cohesive dough. This is the moment of truth—if the dough feels dry, drizzle a teaspoon of water; if it feels too wet, add a sprinkle of extra oats.
Gently fold in the chopped almonds, then the fresh cherries. Be careful not to crush the cherries; you want them to stay whole so they burst later. I like to use a rubber spatula, turning the bowl over a few times to keep the cherries suspended in the batter.
Transfer the batter into the prepared pan, spreading it out with the spatula. Press down firmly but not so hard that you flatten the air pockets—think of it like patting down a pizza crust: you want a uniform thickness, but you also want a little puff.
Kitchen Hack: Use the bottom of a flat glass to press the batter evenly; the glass won’t stick and gives a perfectly level surface.Slide the pan into the oven and bake for 30‑35 minutes, or until the edges turn a deep golden brown and a toothpick inserted into the center comes out clean. Around the 20‑minute mark, rotate the pan 180 degrees to ensure even browning. The aroma at this stage is a signal: you’ll start hearing the faint sizzle of caramelizing sugars, and the kitchen will smell like a cozy bakery.
Once baked, let the bars cool in the pan for 10 minutes, then lift them out using the parchment overhang and transfer to a wire rack. Cooling completely (about 20‑30 minutes) lets the bars set, preventing them from crumbling when you slice them. The final product should have a glossy top, a slightly crisp edge, and a soft, chewy center.
That's it — you did it. But hold on, I've got a few more tricks that'll take this to another level...
Insider Tricks for Flawless Results
The Temperature Rule Nobody Follows
Never bake these bars on a cold oven. A preheated oven creates an instant steam burst that helps the cherries stay plump and prevents the edges from drying out too quickly. If you’re in a rush, set the oven to 375°F for the first 10 minutes, then drop it back to 350°F for the remainder. This two‑stage heat gives a crispier crust without sacrificing the interior softness.
Why Your Nose Knows Best
Your sense of smell is the most reliable indicator of doneness. Around the 20‑minute mark, you’ll notice a sweet, caramel‑nut aroma wafting through the kitchen. When that scent becomes rich and slightly nutty, the bars are almost ready. Trust that nose over the clock; ovens vary, and the scent won’t lie.
The 5‑Minute Rest That Changes Everything
After removing the pan from the oven, let the bars rest undisturbed for exactly five minutes before cutting. This short pause lets the glaze set and the crumbs bind, resulting in clean, professional‑looking slices. Skipping this step is the reason many home bakers end up with crumbly, uneven pieces.
Almond Toasting Shortcut
If you love extra almond crunch, toast the chopped almonds in a dry skillet for 2‑3 minutes before folding them in. Keep them moving constantly; you want them golden, not burnt. This simple step adds a toasty depth that elevates the whole bar.
Maple Syrup Swap
For a richer, darker flavor, substitute half of the maple syrup with a dark honey. The honey adds a subtle floral note, while the remaining maple keeps the characteristic woodsy sweetness. I tried this once and the bars took on a caramel‑like complexity that was unforgettable.
Creative Twists and Variations
This recipe is a playground. Here are some of my favorite ways to switch things up:
Chocolate Cherry Fusion
Add ¼ cup of dark chocolate chips to the batter for a mocha‑like surprise. The chocolate melts slightly during baking, creating pockets of gooey richness that complement the tart cherries.
Nut‑Free Sunshine
Swap the almonds for ½ cup of toasted sunflower seeds and add a teaspoon of vanilla extract. This version is perfect for anyone with nut allergies while still delivering a satisfying crunch.
Spiced Autumn
Incorporate ½ teaspoon of ground cinnamon and a pinch of nutmeg into the dry ingredients. The warm spices turn the bars into a cozy, fall‑ready snack that pairs beautifully with a cup of chai.
Coconut‑Lime Burst
Replace the lemon juice with lime juice and add ¼ cup of shredded coconut to the mix. The lime brightens the flavor, while the coconut adds a tropical chew.
Protein Power
Stir in ½ cup of vanilla whey protein powder and reduce the flour by the same amount. This tweak boosts the protein content without compromising texture, making the bars ideal for post‑workout fuel.
Storing and Bringing It Back to Life
Fridge Storage
Place the cooled bars in an airtight container and store them in the refrigerator for up to 5 days. The chill keeps the coconut oil solid, preserving the bars’ shape and preventing sogginess. When you’re ready to eat, let a bar sit at room temperature for 10 minutes to soften.
Freezer Friendly
Wrap each bar individually in parchment, then seal the whole batch in a zip‑top freezer bag. They’ll stay fresh for up to 3 months. To reheat, microwave for 20‑30 seconds or pop them in a 300°F oven for 5 minutes; the result is as if they were freshly baked.
Best Reheating Method
Add a tiny splash of water (about a teaspoon) to the plate before microwaving. The steam revives the interior softness while keeping the crust crisp. This little trick turns a day‑old bar into a warm, fragrant treat in seconds.