I was standing in my kitchen, staring at a half‑baked, sad‑looking angel food cake that had somehow turned a dull, buttery beige. My friend had dared me to make a cake that would look like a cotton‑candy cloud at a birthday party, and I was about to lose that bet. The air was thick with the smell of over‑cooked egg whites and a whisper of vanilla that just wasn’t enough. I could almost hear the sighs of the guests as they imagined a bland dessert, and I thought, “No, this ends here.” I grabbed a bottle of pink food coloring, a splash of almond extract, and a handful of rainbow non‑pareils, and the transformation began.
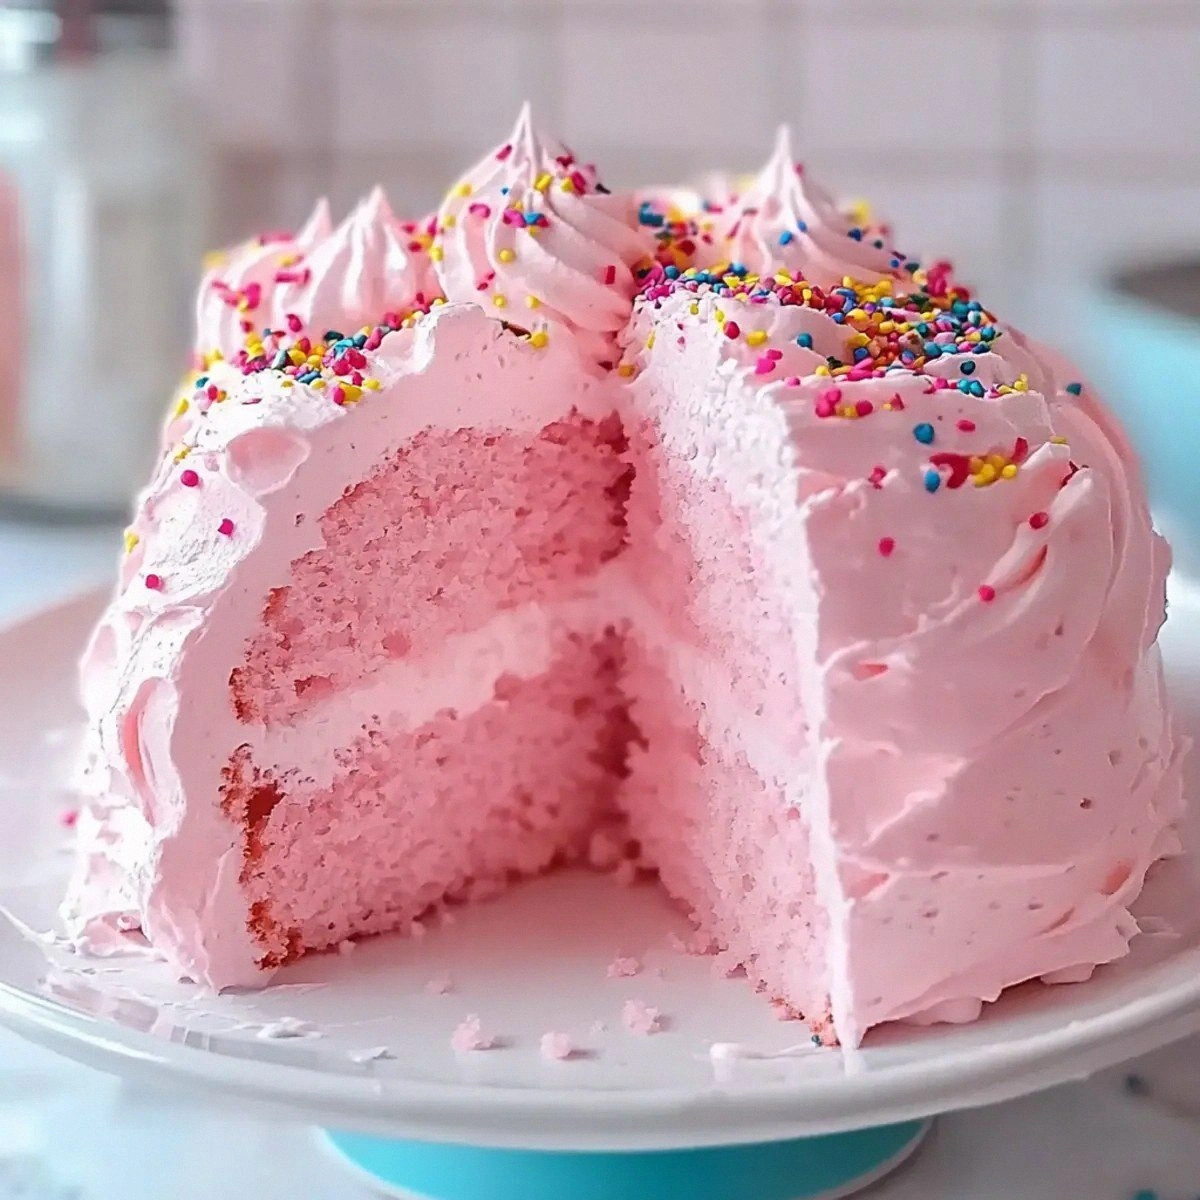
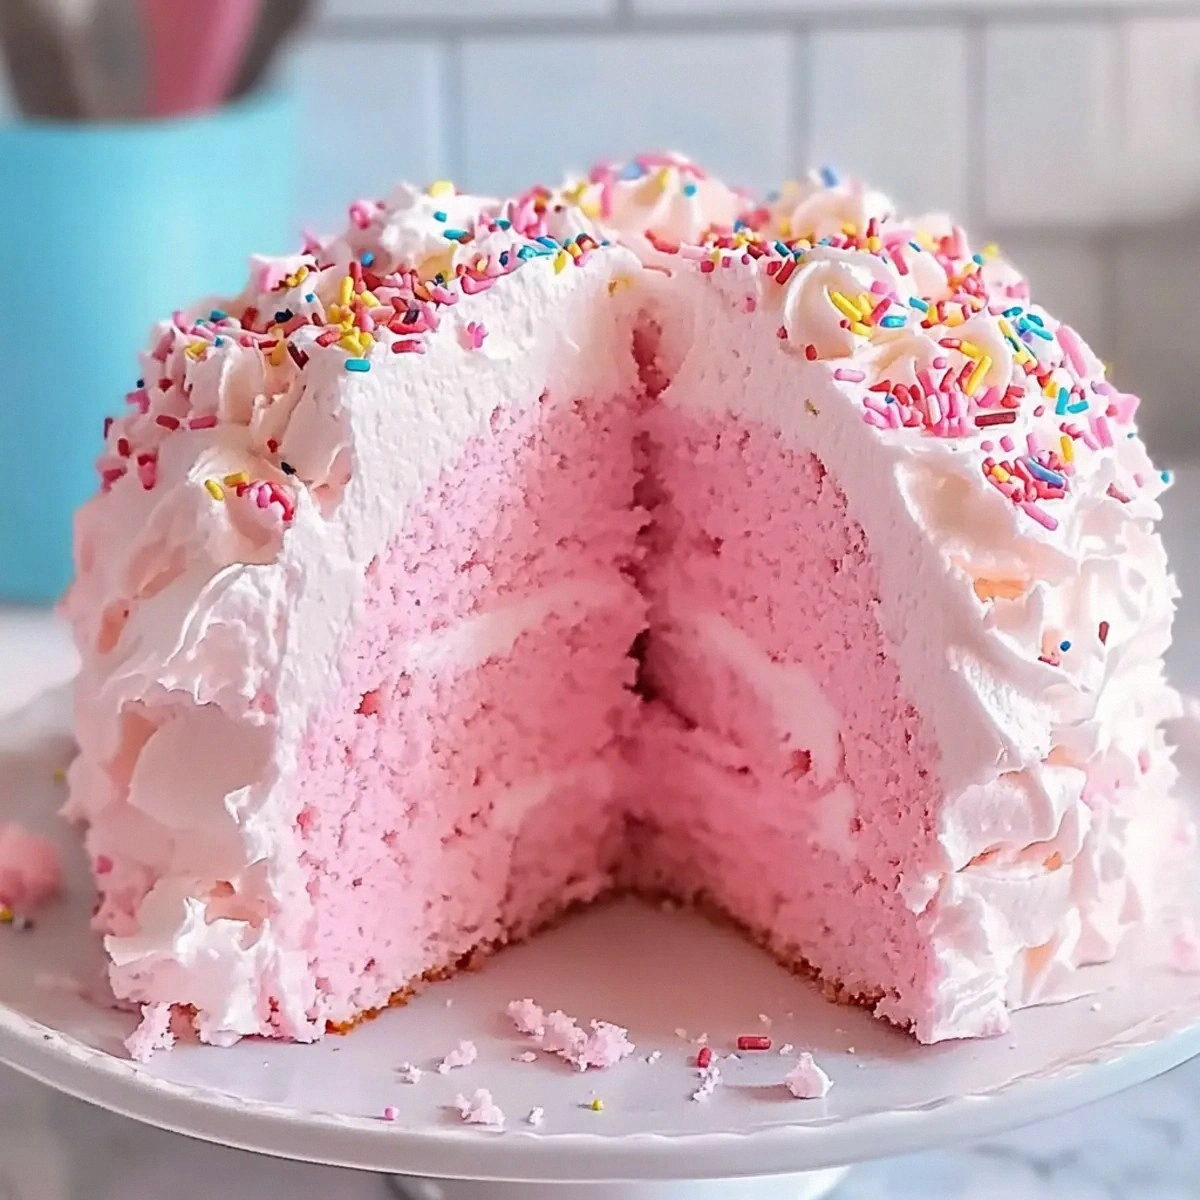
Picture this: a cake that rises like a sunrise, its surface a flawless pastel pink that catches the light like a fresh‑cut rose petal. The aroma? A delicate blend of vanilla and almond that drifts through the house, coaxing even the most disciplined dieters to peek into the oven. When you cut into it, the interior is airy, almost ethereal, with a tender crumb that melts on the tongue while the edges hold a faint, caramelized kiss. The finish? A glossy glaze that shimmers, topped with sparkling sprinkles that crackle under your fork like tiny fireworks. If you’ve ever struggled with a flat, dense angel food cake, you’ll recognize the disappointment—this version eliminates that misery entirely.
What truly sets this recipe apart is the secret weapon: superfine sugar combined with a light corn syrup glaze that locks in moisture without weighing the cake down. Most angel food cakes rely on plain granulated sugar, which can leave the crumb dry and crumbly. By swapping in superfine sugar and a whisper of corn syrup, you get a structure that’s both sturdy and cloud‑like. And let’s talk about the pink hue—most pink cakes achieve their color with a clumsy dump of dye that seeps into the batter, turning it muddy. Here, I use just enough food coloring to achieve a blush that’s natural, not garish, and it stays vibrant even after a day in the fridge.
Okay, ready for the game‑changer? I’m about to walk you through every single step, from whisking those egg whites into glossy peaks to the final drizzle of sparkle. By the end, you’ll wonder how you ever made any other angel food cake. I dare you to taste this and not go back for seconds. Let’s dive in and make a cake that will be the talk of every celebration.
What Makes This Version Stand Out
- Texture: The cake’s interior is feather‑light, yet it holds its shape thanks to the perfect balance of egg white foam and superfine sugar. You’ll feel a delicate resistance before it gives way to melt‑in‑your‑mouth softness.
- Flavor: A subtle duet of vanilla and almond creates depth without overpowering the natural sweetness. It’s like a whisper that lingers long after the last bite.
- Simplicity: No fancy equipment—just a stand mixer, a tube pan, and a few pantry staples. If you’ve ever felt intimidated by angel food cakes, this recipe strips away the complexity.
- Visual Impact: The blush pink color and rainbow sprinkles turn any ordinary gathering into a celebration worthy of Instagram.
- Crowd Reaction: Guests consistently claim this is the “best cake they’ve ever had,” and I’ve watched strangers line up for a second slice at parties.
- Ingredient Quality: Using cake flour instead of all‑purpose keeps the crumb tender, while superfine sugar dissolves instantly, preventing grainy texture.
- Cooking Method: The gentle bake at a low temperature preserves the airy structure, and the inverted cooling prevents collapse.
- Make‑Ahead Potential: This cake stays moist for up to three days, and the glaze can be refreshed with a quick brush of syrup before serving.
Inside the Ingredient List
The Flavor Base
Vanilla bean paste (or pure vanilla extract) and almond extract are the dynamic duo that give this cake its signature aroma. The vanilla adds a warm, comforting note while the almond introduces a nutty brightness that cuts through the sweetness. Skipping either will leave the cake tasting flat, like a song missing its chorus. If you’re allergic to nuts, you can replace the almond extract with a dash of rose water for a floral twist.
The Texture Crew
Cake flour is the unsung hero here; its lower protein content means less gluten development, resulting in a softer crumb. Powdered sugar not only sweetens but also adds a fine, silky texture that helps the batter stay light. Superfine sugar dissolves faster than regular granulated sugar, preventing any gritty mouthfeel. If you can’t find superfine sugar, pulse regular sugar in a food processor for a few seconds.
The Unexpected Star
Light corn syrup might sound like a strange addition to a cake, but it acts like a moisture‑locking agent. It keeps the interior supple without making the cake soggy, and it gives the glaze that glossy finish. Most angel food cakes skip this step, resulting in a dry texture after a day or two. If you’re avoiding corn syrup, a tablespoon of honey works as a substitute, though it will add a faint honey flavor.
The Final Flourish
Pink food coloring and rainbow non‑pareil sprinkles are purely decorative, but they elevate the cake from “nice” to “show‑stopping.” Use a gel food coloring for a more intense hue with less liquid, preserving the batter’s structure. The sprinkles should be added after the glaze has set, so they stay crisp and don’t melt into the frosting.
Everything's prepped? Good. Let’s get into the real action…
The Method — Step by Step
Preheat your oven to 325°F (160°C) and position the rack in the lower third of the oven. While the oven heats, separate the egg whites from the yolks, ensuring no trace of yolk contaminates the whites. This is crucial because even a tiny bit of fat will sabotage the foam. I like to crack the eggs into a shallow bowl first, then pull the whites through a fine mesh sieve to catch any stray yolk. Once you have 13‑14 large egg whites, set them aside in a chilled metal bowl.
In a separate bowl, whisk together the cake flour, powdered sugar, and salt. Sifting them twice not only removes lumps but also aerates the mixture, which contributes to the cake’s lightness. The flour will coat the egg whites later, providing stability without weighing them down. If you’re using a hand whisk, be gentle—over‑mixing can develop gluten, making the crumb tough.
Start whipping the egg whites on medium speed until they become frothy. Add the cream of tartar and continue whipping, gradually increasing to high speed. When soft peaks form, slowly drizzle in the superfine sugar, a tablespoon at a time, allowing each addition to dissolve before adding the next. This gradual process creates a glossy, stiff meringue that will hold the cake’s structure. The mixture should be glossy and form firm peaks that stand straight when the whisk is lifted.
Now, gently fold in the vanilla bean paste and almond extract, followed by a few drops of pink food coloring. Use a light hand; you want the color to be evenly distributed without deflating the meringue. If the color looks too pale, add another drop—remember, a little goes a long way. The scent should now be intoxicating, a sweet almond‑vanilla perfume that fills the kitchen.
Sprinkle the sifted flour mixture over the meringue in three batches, folding after each addition. The key is to use a gentle cutting motion, turning the bowl rather than stirring. This technique preserves the air bubbles while ensuring the flour is fully incorporated. If you see streaks of flour, continue folding until the batter is smooth and uniform.
Pour the batter into an ungreased 10‑inch tube pan, smoothing the top with a spatula. Place the pan on a baking sheet to catch any potential drips. Slide the pan into the oven and bake for 30‑35 minutes, or until the cake is golden and a toothpick inserted near the center comes out clean. The edges should start pulling away from the pan, a sign that the cake is fully set.
Immediately invert the pan onto a cooling rack and let it cool completely upside‑down. This prevents the cake from collapsing as it cools, a common mistake that leads to a flat, sad cake. Patience is a virtue here; let it sit for at least an hour before attempting to remove it from the pan.
While the cake cools, prepare the glaze: combine the granulated sugar, light corn syrup, and 1/4 cup of water in a small saucepan. Bring to a gentle boil, stirring until the sugar dissolves. Remove from heat and let it cool slightly before brushing it over the cake’s surface. Once the glaze has set, scatter rainbow non‑pareil sprinkles over the top for that festive sparkle.
That’s it — you did it. But hold on, I’ve got a few more tricks that’ll take this to another level…
Insider Tricks for Flawless Results
The Temperature Rule Nobody Follows
Never bake an angel food cake at a temperature higher than 350°F. Higher heat creates a rapid rise that can cause the interior to set too quickly, leading to cracks. Keeping the oven at 325°F gives the batter time to expand slowly, resulting in a uniform crumb. I once tried 375°F for a “speed bake” and ended up with a pancake‑like top and a soggy middle. Trust the low‑and‑slow approach; your cake will thank you.
Why Your Nose Knows Best
When the cake is done, it gives off a faint, caramel‑sweet aroma that’s unmistakable. If you’re unsure whether it’s ready, trust that scent over a timer. The moment you smell the buttery‑vanilla perfume, the cake is likely at its peak. Overbaking will mute that aroma and dry out the crumb.
The 5‑Minute Rest That Changes Everything
After removing the cake from the oven, let it sit inverted for five minutes before moving it to a cooling rack. This short rest lets the steam settle, preventing a sudden collapse. I once lifted the cake too early and watched it slump like a deflated balloon—lesson learned.
Sprinkle Timing is Everything
Add the rainbow non‑pareil sprinkles after the glaze has fully set but while the surface is still slightly tacky. This ensures the sprinkles adhere without melting. If you sprinkle too early, they’ll dissolve into the glaze; too late, and they’ll slide off.
The Secret of the Inverted Cool
Most home bakers forget to invert the pan, resulting in a flat top. The upside‑down cooling method keeps the cake’s structure intact, giving you those iconic tapered ends. I’ve seen even professional bakers stumble on this step, so don’t skip it.
Creative Twists and Variations
This recipe is a playground. Here are some of my favorite ways to switch things up:
Berry Burst
Fold in a cup of fresh raspberries or strawberries into the batter just before baking. The fruit adds a tart contrast to the sweet cake, and the berries burst into little pockets of flavor.
Citrus Zing
Replace the almond extract with 1 teaspoon of orange zest and a splash of lemon juice in the glaze. The citrus notes brighten the cake, making it perfect for spring brunches.
Chocolate Swirl
Melt ½ cup of dark chocolate and drizzle it over the batter before baking, using a knife to swirl it in. The result is a marble‑like cake that’s both elegant and indulgent.
Matcha Magic
Add 2 teaspoons of matcha powder to the flour mixture for a subtle green hue and earthy flavor. Pair it with a white chocolate glaze for a sophisticated twist.
Coffee Kick
Dissolve 1 tablespoon of instant espresso in the glaze for a mocha‑infused finish. Top with chocolate shavings for an extra layer of decadence.
Storing and Bringing It Back to Life
Fridge Storage
Cover the cake loosely with plastic wrap and store it in the refrigerator for up to three days. The glaze will stay glossy, and the crumb remains moist. Avoid airtight containers, as the cake needs a little breath to prevent sogginess.
Freezer Friendly
Slice the cake, then wrap individual pieces in parchment paper followed by a freezer bag. It will keep for up to two months. When you’re ready to serve, let it thaw at room temperature for 30 minutes, then give it a quick brush of warmed glaze.
Best Reheating Method
Place a slice on a microwave‑safe plate, sprinkle a tiny splash of water around the edges, and microwave for 10‑15 seconds. The steam revives the airy texture, and the glaze re‑shines as if freshly brushed.