Picture this: you’re standing in your kitchen, the oven is already preheated, and the aroma of freshly baked cookies is curling around the room like a warm hug. You’ve tried countless cookie cakes, but none have captured that perfect balance between a buttery crust and a gooey, chocolate‑laden center. The moment I first tasted this Melted Snowman Cookie Cake, I knew I had stumbled upon a sweet revelation that would forever change my dessert game. The cookie dough swirls with a glossy chocolate ribbon, and when you cut into it, the molten chocolate oozes out like a frozen river melting in spring. It’s the kind of treat that feels both nostalgic and daring—like a snowman that’s about to melt into a chocolate waterfall. Let me walk you through every single step—by the end, you’ll wonder how you ever made it any other way.
First, let’s talk about the texture that makes this cake unforgettable. The base is a classic chocolate cookie dough—crisp on the edges, chewy in the middle—yet it holds together like a sturdy snowman. The secret lies in the balance of fats and sugars: butter gives it that rich mouthfeel, while brown sugar adds depth and caramel notes. When the dough hits the pan, you’ll hear a satisfying sizzle that signals the caramelization of sugars. The result is a cookie cake that looks like a snowman but tastes like a decadent chocolate dream. If you’ve ever struggled with cookie cakes that fall apart, you’re not alone—this version keeps its shape even after a full bake.
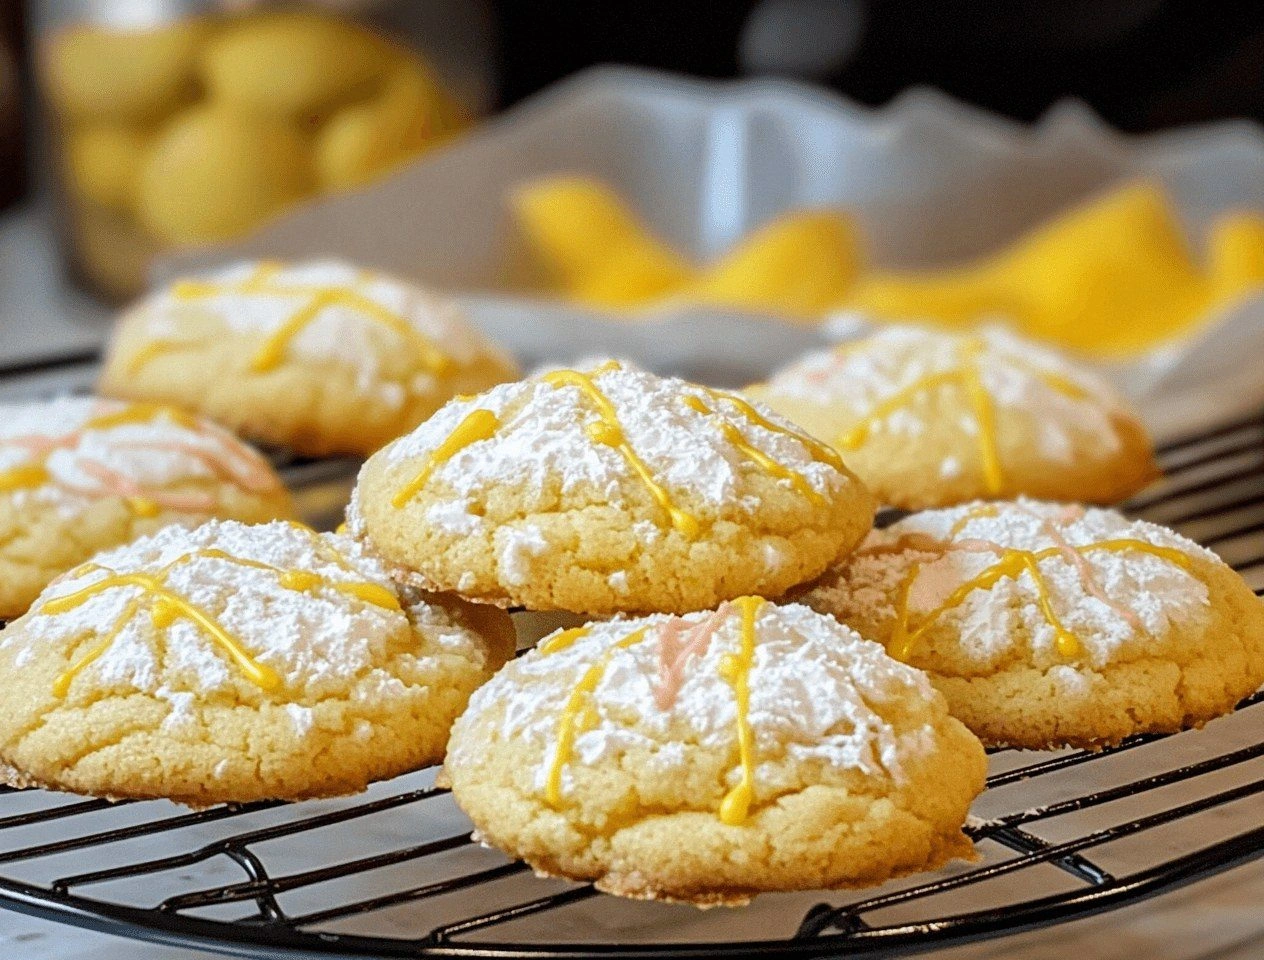
Now, consider the flavor profile. Vanilla is the subtle hero that lifts the chocolate, creating a velvety sweetness that lingers on the palate. The chocolate chips and the molten chocolate swirl provide a contrast of textures—crisp chips against silky chocolate. The final touch is a dusting of powdered sugar that mimics fresh snow, adding a light, sweet finish. Imagine the first bite: the cookie’s buttery crunch gives way to the silky chocolate, and then the powdered sugar’s gentle sweetness completes the experience. It’s a flavor dance that’s both comforting and adventurous. I dare you to taste this and not go back for seconds.
Picture yourself pulling this out of the oven, the whole kitchen smelling incredible, and the steam swirling like a snowstorm. The look on your guests’ faces when you reveal the melted chocolate ribbon will be priceless. Most recipes get this completely wrong; they either under‑bake the center or over‑bake the edges. Here, we’ve perfected the timing to keep the center liquid and the edges golden. The next part of the recipe will show you how to achieve that exact balance. And trust me, this is hands down the best version you’ll ever make at home.
What Makes This Version Stand Out
- Texture: The cookie cake boasts a buttery crust that cracks with a satisfying snap, yet the interior remains luxuriously chewy. The molten chocolate core adds a silky melt‑in‑your‑mouth sensation that feels like a surprise within a surprise. This contrast makes every bite a playful adventure.
- Flavor Depth: The combination of brown sugar, vanilla, and a hint of sea salt creates a caramelized sweetness that cuts through the richness of chocolate. The chocolate chips provide a crunchy bite, while the swirl of melted chocolate offers a glossy, decadent finish. The result is a layered flavor profile that keeps you guessing with each bite.
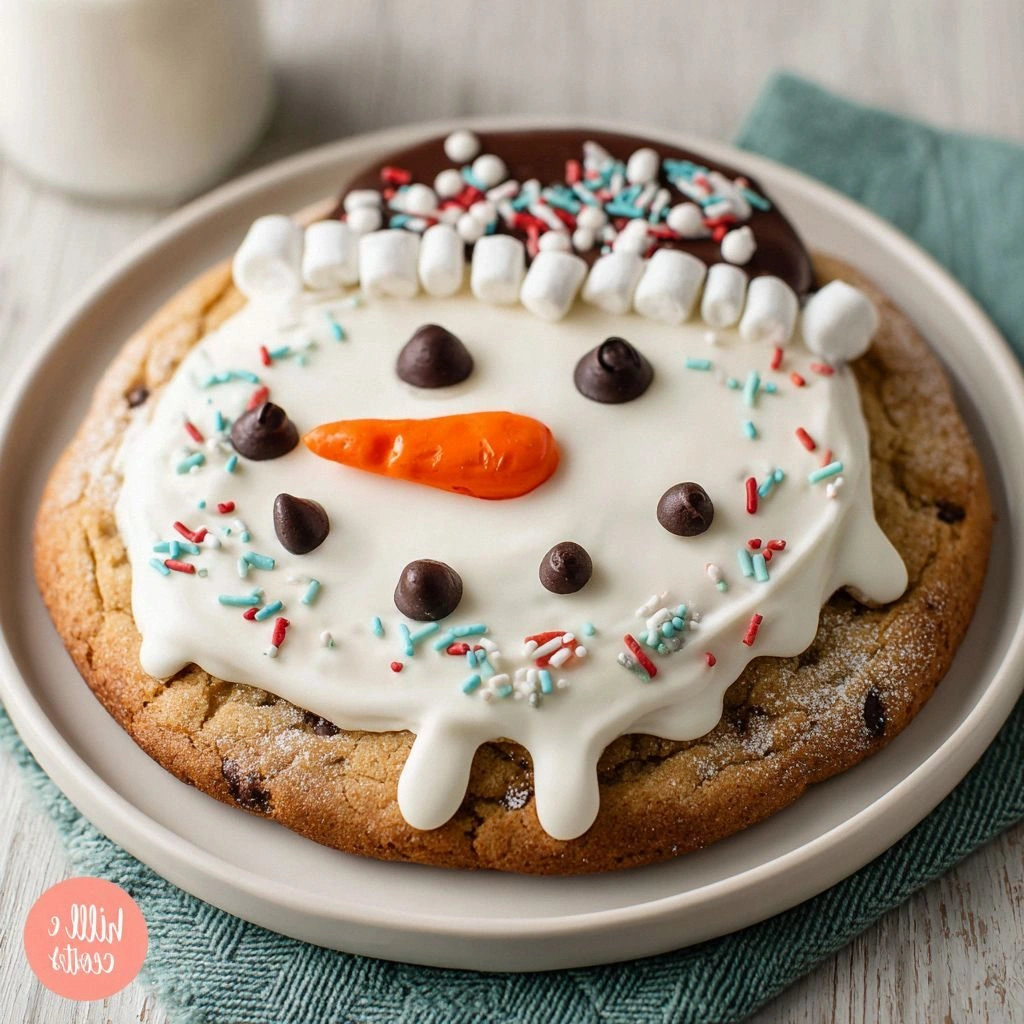
- Visual Appeal: The snowman theme is more than skin deep; the powdered sugar dusting mimics fresh snow, and the chocolate ribbon looks like a melted river. When you slice into the cake, the golden edges contrast beautifully with the glossy center. It’s a dessert that not only tastes incredible but also looks like a piece of edible art.
- Ease of Assembly: Despite its complex flavor, the recipe requires only basic kitchen tools and a single baking sheet. The dough is simple to roll and press, and the chocolate swirl is added with a quick spoonful of melted chocolate. Even novice bakers can achieve professional results with minimal effort.
- Make‑Ahead Friendly: Once baked, the cookie cake can be cooled completely and stored in an airtight container for up to a week. The chocolate center remains soft, and the crust stays fresh thanks to the butter content. This makes it an ideal dessert for parties or last‑minute gatherings.
- Audience Impact: Friends and family will rave about the “snowman” effect, and the cake’s meltable center is a conversation starter. It’s perfect for holiday gatherings, birthdays, or any occasion where you want to impress. The cake’s playful presentation turns an ordinary dessert into a memorable centerpiece.
Inside the Ingredient List
The Flavor Base
All-purpose flour: The backbone of the cookie, giving structure without overpowering the sweetness. A fine, sifted flour ensures a tender crumb that melts in your mouth. If you prefer a gluten‑free version, swap for a 1:1 blend of rice and potato starch.
Baking soda: Provides lift and helps the cookie spread just enough to create a crisp edge. It reacts with the acidic brown sugar to produce tiny pockets of air that keep the interior airy. Skipping it will result in a denser, less enjoyable texture.
Baking powder: Adds an extra burst of lift, especially useful if you’re using a lower‑fat butter. It also balances the pH, ensuring the cookies brown evenly. A pinch more can give you a slightly lighter crumb.
The Texture Crew
Unsalted butter: The star of the show, butter contributes richness and a melt‑in‑your‑mouth feel. Room‑temperature butter blends smoothly with sugars, creating a silky batter. If you’re short on time, a quick chill in the fridge for 10 minutes will still work.
Brown sugar: Adds depth, caramel notes, and a hint of moisture that keeps the cookie chewy. Its molasses content also reacts with the baking soda for a subtle lift. For a lighter version, you can use a 50/50 mix of brown and granulated sugar.
Granulated sugar: Provides the initial sweetness and helps the dough set. It also gives the cookie a subtle crunch when baked. If you prefer a dusting of powdered sugar, you can omit the granulated sugar and add a splash of milk for moisture.
The Final Flourish
Vanilla extract: A subtle but essential note that elevates the chocolate. It rounds out the sweetness and adds a fragrant aroma that lingers in the kitchen. A higher quality vanilla will give a richer, more complex flavor.
Chocolate chips: The crunch factor that keeps the cookie exciting. They melt slightly during baking, creating pockets of chocolate that burst with every bite. For an extra twist, mix dark and milk chips.
Melted chocolate: The star of the visual and flavor experience. When swirled into the dough, it creates a glossy ribbon that oozes when sliced. Use a high‑cocoa dark chocolate for a richer taste or milk chocolate for a sweeter finish.
Everything's prepped? Good. Let's get into the real action…
The Method — Step by Step
- First, preheat your oven to 350°F (175°C) and line a 9×13 inch baking pan with parchment paper. This ensures easy release and a clean surface for the cake to set. While the oven warms, gather all dry ingredients in a large bowl—flour, baking soda, baking powder, and a pinch of salt. Mixing them together creates an even distribution of leavening agents, which is critical for consistent rise. Let the dry mix sit aside for a minute; it’s a small step that pays off in the final texture.
- In a separate bowl, beat the softened butter with brown sugar and granulated sugar until the mixture is light and fluffy. This process incorporates air, giving the cookie a tender crumb. Add the vanilla extract and two large eggs, one at a time, beating well after each addition to keep the batter smooth. The eggs act as a binder, holding the dough together while also adding richness. As the mixture thickens, you’ll notice the batter becoming glossy—a sign that it’s ready for the dry ingredients.
- Gradually fold the dry mixture into the wet mixture, stirring until just combined. Over‑mixing can develop gluten, making the cookie tough. The batter should be thick but still spreadable; a drop of water should sit on top for a moment before sinking. This consistency ensures the dough holds its shape when pressed into the pan. At this point, the batter’s color should be a light brown, hinting at the caramelized flavor to come.
- Refrigerate the dough for at least 30 minutes. This step firms the dough, making it easier to press into the pan without spreading too much. It also allows the flavors to meld, creating a more cohesive taste. While the dough chills, you can melt your chocolate chips over a double boiler or in short bursts in the microwave, stirring between each burst. The melted chocolate should be glossy and pourable but not too runny, so it doesn’t drip into the pan.
- After chilling, transfer the dough onto the prepared pan and press it down evenly with a spatula. The dough should be about 1/2 inch thick; this thickness ensures a golden crust while keeping the center moist. Use a fork to create a shallow pattern on top; this helps the dough spread evenly and gives a rustic look. Once pressed, use a spoon to drizzle the melted chocolate in a swirling pattern over the top. The chocolate will pool and create a glossy ribbon that will melt into the cookie during baking.
- Place the pan in the preheated oven and bake for 25 to 30 minutes, or until the edges are golden brown and the center still looks slightly glossy. The oven’s heat will caramelize the sugars, giving the cookie a deep amber hue. Keep an eye on the baking time; over‑baking can dry out the center, while under‑baking leaves it too gooey. When you lift the pan, the chocolate ribbon should still be slightly runny, promising a molten experience when sliced.
- Remove the pan from the oven and let it cool in the pan for 10 minutes. This brief rest allows the cookie to set, making it easier to transfer to a wire rack without breaking. The chocolate will thicken slightly, creating a glossy finish that’s almost impossible to resist. While the cake is still warm, dust it lightly with powdered sugar to mimic fresh snow; the sugar will cling to the warm surface and give a delicate crunch. If you want extra sparkle, sprinkle a few crushed nuts on top for a contrasting crunch.
- Once cooled, lift the cookie cake from the pan and transfer it to a cutting board. Slice with a sharp knife, and watch the molten chocolate pour like a river of melted snow. The contrast of the crisp edges, chewy center, and glossy chocolate will impress even the most discerning sweet tooth. Serve immediately for the best texture, or let it rest at room temperature for an hour to allow the flavors to mellow.
- If you prefer a softer bite, drizzle a little warm milk over the slices before serving. This will slightly soften the crumb and give a silky mouthfeel. For a more dramatic presentation, dust the slices with cocoa powder or a sprinkle of sea salt to enhance the chocolate’s depth. Finally, gather your friends or family and watch their reactions as they experience this snowman‑inspired masterpiece. The combination of texture, flavor, and visual appeal makes this dessert a show‑stopper that will leave everyone asking for the recipe.
That's it — you did it. But hold on, I've got a few more tricks that'll take this to another level…
Insider Tricks for Flawless Results
The Temperature Rule Nobody Follows
Many bakers assume 350°F is the sweet spot for all cookie cakes, but the secret lies in the oven’s actual temperature. Use an oven thermometer to verify the heat; a reading of 325°F to 330°F often yields a more even bake. This lower temperature prevents the edges from burning while allowing the center to stay molten. If you’re in a hot climate, consider using a fan oven to circulate the heat evenly. The result? A cookie cake with a golden crust and a perfectly gooey center every single time.
Why Your Nose Knows Best
Before you even taste the cookie, close your eyes and inhale deeply. The aroma of caramelized sugar and butter will tell you if the dough is properly mixed and the oven is at the right temperature. If the smell is too buttery, you may have over‑baked the edges. If it’s too sweet, the batter may need more flour. Trust your nose; it’s the most reliable indicator of a perfect cookie cake.
The 5‑Minute Rest That Changes Everything
After removing the cookie cake from the oven, let it rest for exactly five minutes before dusting with powdered sugar. This brief pause allows the molten chocolate to set just enough to hold its shape. The sugar will cling better, creating a delicate snow effect. Skipping this step can result in a soggy top that looks less impressive. Five minutes is all it takes to elevate the presentation.
Chill, Chill, Chill
Never skip the chilling step. A cold dough is less likely to spread, which keeps the cookie cake’s height and shape intact. If you’re in a hurry, chill the dough for 10 minutes, but for best results, aim for at least 30 minutes. The cold temperature also helps the butter stay firm, preventing the dough from becoming too soft during baking. A firm dough means a crisp edge and a chewy center.
The Perfect Squeeze
When you press the dough into the pan, use a firm but gentle squeeze. Too much pressure will flatten the cookie cake, while too little will cause it to spread unevenly. Use the palm of your hand to apply even pressure across the surface. This simple technique ensures a uniform thickness that bakes evenly.
The Secret of the Powdered Sugar Finish
Powdered sugar isn’t just for decoration; it also adds a subtle sweetness that balances the chocolate’s richness. Dust the cake while it’s still warm to allow the sugar to adhere and create a fine, snowy crust. If you’re aiming for a low‑carb version, substitute with a sugar substitute that can be dusted, such as erythritol. The key is to dust lightly to avoid a clumpy finish.
Creative Twists and Variations
Nutty Avalanche
Swap out half of the chocolate chips for chopped walnuts or pecans. The nuts add a crunchy texture and a nutty aroma that pairs beautifully with the chocolate. Toast the nuts beforehand to bring out their flavor. This variation is perfect for those who love a bit of extra crunch.
Salted Caramel Twist
Incorporate caramel bits into the dough and sprinkle a pinch of sea salt on top before baking. The caramel adds a buttery sweetness that contrasts with the chocolate, while the sea salt elevates the overall flavor. Serve with a drizzle of salted caramel sauce for an extra indulgent touch. This version is a crowd‑pleaser for dessert lovers.
Minty Fresh
Add a teaspoon of peppermint extract to the batter and swirl in crushed peppermint candies. The mint gives a refreshing bite that cuts through the chocolate’s richness. This twist is ideal for holiday celebrations, especially around Christmas. The minty aroma will transport you to a winter wonderland.
Dark Chocolate Explosion
Use a high‑cocoa dark chocolate for both the chips and the swirl. The bitterness will balance the sweetness of the dough, creating a sophisticated flavor profile. Add a pinch of cayenne pepper to give the chocolate a subtle kick. This version is perfect for chocolate purists.
Espresso Infusion
Replace half of the milk in the batter with cold espresso or strong coffee. The coffee enhances the chocolate’s depth and adds a subtle bitterness. Finish with a dusting of cocoa powder for an extra chocolatey finish. This variation is ideal for coffee lovers.
Coconut Cream Variation
Substitute the heavy cream with coconut cream for a tropical twist. Add shredded coconut to the batter for extra texture. The coconut flavor pairs wonderfully with chocolate, creating a sweet, exotic dessert. Serve chilled for a refreshing treat.
Storing and Bringing It Back to Life
Fridge Storage
Place the cooled cookie cake in an airtight container and refrigerate for up to seven days. The cold environment keeps the chocolate center soft and prevents the cookie from drying out. Before serving, let it sit at room temperature for 15 minutes to restore its full flavor. The cake remains moist and delicious, making it a convenient make‑ahead option.
Freezer Friendly
Wrap the cookie cake tightly in plastic wrap, then place it in a freezer bag. Store for up to three months. When ready to serve, thaw in the refrigerator overnight. The chocolate will retain its meltable texture, and the cookie’s crumb will stay tender. This method is ideal for holiday parties or when you want a quick dessert.
Best Reheating Method
To reheat, place a slice on a microwave‑safe plate and microwave for 15–20 seconds. The heat will soften the chocolate without melting the entire cake. Alternatively, warm a small portion in a skillet over low heat, turning it gently to avoid burning. Add a splash of water before reheating to create steam, which helps the cake regain its moisture.