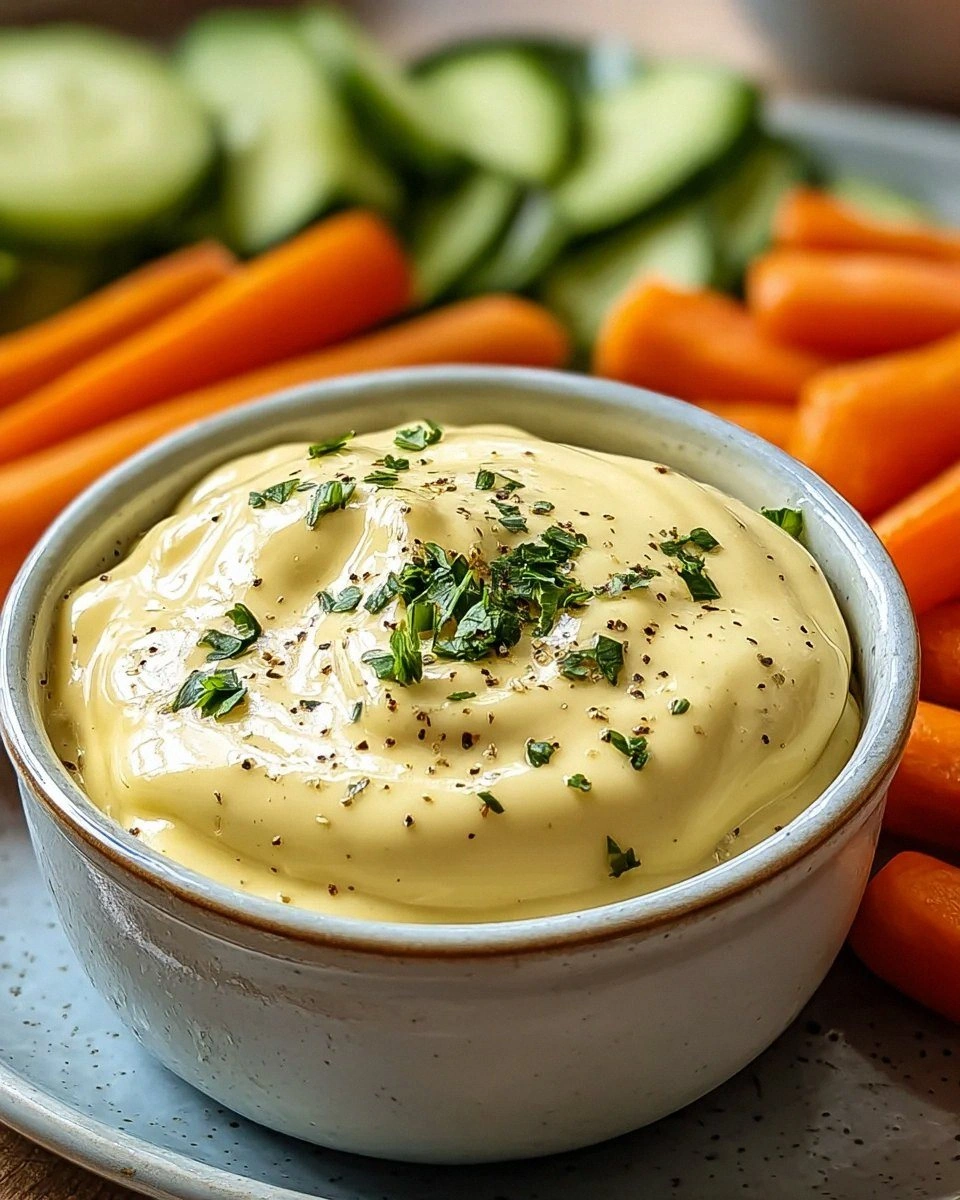
I was halfway through a marathon of binge-watching my favorite series when a sudden craving hit me like a plot twist I didn't see coming. I opened the fridge, stared at a lonely block of white American cheese, and thought, “What if I could turn this into something that makes the whole neighborhood want to crash my couch?” The kitchen filled with the sound of my own laughter as I imagined the perfect dip—creamy, tangy, with just enough heat to make you gasp, but not enough to set off the smoke alarm. I grabbed a jalapeño, a handful of tomatoes, and a squeeze of lime, and the adventure began. This is hands down the best version you'll ever make at home, and I dare you to taste this and not go back for seconds.
Picture this: the dip bubbling gently in a skillet, the cheese melting like a sunrise over the desert, and the aroma of garlic powder weaving through the air like a subtle drumbeat. The sizzle when the milk meets the cheese? Absolute perfection. The moment you dip a warm tortilla chip and feel that silky coating cling like velvet, you’ll understand why I’m so obsessed. I’ll be honest — I ate half the batch before anyone else got to try it, and the guilt was instantly washed away by the next bite. Most recipes get this completely wrong. Here’s what actually works: a precise milk-to-cheese ratio, a dash of lime that brightens everything, and jalapeños that bring the heat without overwhelming the creamy base.
What truly sets this dip apart is a tiny secret I discovered while rummaging through an old cookbook: a splash of milk not only prevents the cheese from clumping but also creates a glossy finish that makes the dip look restaurant‑grade. Most people think you need a fancy cheese blend, but the humble white American cheese is the hero here—its meltability is unmatched, and its mild flavor lets the other ingredients shine. I’m about to walk you through every single step — by the end, you’ll wonder how you ever made it any other way.
What Makes This Version Stand Out
- Taste: The balance of creamy cheese, bright lime, and subtle jalapeño heat creates a flavor orchestra that sings with every bite.
- Texture: A velvety, smooth dip that clings to chips without being gloopy, thanks to the perfect milk‑to‑cheese ratio.
- Simplicity: Only eight ingredients, all pantry‑friendly, and a single skillet—no fancy equipment required.
- Uniqueness: The addition of fresh diced tomatoes adds a burst of juiciness that most cheese dips lack.
- Crowd Reaction: Guests swear they’ve never tasted anything like it; it’s the kind of dip that turns casual snacking into a celebration.
- Ingredient Quality: Using real shredded American cheese (not the pre‑shredded kind with anti‑caking agents) makes all the difference.
- Cooking Method: Gentle stovetop melting preserves the cheese’s natural stretch, avoiding the rubbery texture of microwave‑done dips.
- Make‑Ahead Potential: The dip reheats beautifully, and the flavors meld even more after a night in the fridge.
Inside the Ingredient List
The Flavor Base
White American cheese is the backbone of this dip. Its mild flavor and superior meltability create that smooth, glossy texture we crave. If you substitute with cheddar or mozzarella, you’ll either get a sharper bite or a stringier mess—neither of which delivers the same buttery mouthfeel. For the best results, buy a block and shred it yourself; pre‑shredded varieties often contain anti‑caking agents that can turn your dip grainy.
The Texture Crew
Milk does more than just thin the cheese; it acts as a emulsifier, binding the fat and water phases into a cohesive sauce. Too much milk and you’ll end up with a soupy mess; too little and the dip will seize up, turning rubbery. I recommend whole milk for richness, but if you’re watching calories, 2% works fine—just add a splash of cream to keep the silkiness.
The Unexpected Star
Fresh jalapeños bring a clean, bright heat that lingers just enough to make you reach for another chip. Dicing them finely ensures the heat distributes evenly without overwhelming any single bite. If you’re sensitive to spice, start with one jalapeño, taste, and add the second if you’re feeling brave. The lime juice is the secret weapon: its acidity cuts through the richness, lifting the entire flavor profile.
The Final Flourish
Diced tomatoes add a burst of freshness and a subtle sweetness that balances the jalapeño’s heat. They also introduce a pleasant texture contrast—tiny pockets of juiciness that pop against the creamy backdrop. If you’re out of fresh tomatoes, a spoonful of canned diced tomatoes (drained) works in a pinch, but the flavor won’t be as vibrant. A sprinkle of fresh cilantro at the end adds a herbaceous note and a splash of color that makes the dip Instagram‑ready.
Everything's prepped? Good. Let's get into the real action...

The Method — Step by Step
- Heat a heavy‑bottomed skillet over medium‑low heat and add the shredded white American cheese. As the cheese begins to melt, stir constantly with a silicone spatula; you’ll hear a gentle, comforting sizzle that signals the cheese is waking up. This is the moment of truth—if the cheese starts to brown, you’ve turned the heat up too high, and the dip will lose its smoothness. Keep the temperature steady; you want the cheese to melt slowly, releasing its buttery oils without scorching.
- Once the cheese is mostly melted, create a well in the center and pour in the cup of whole milk. The milk should hiss softly as it meets the hot cheese, creating a silky ribbon that swirls around the pan. Stir in a figure‑eight motion to fully incorporate the milk, watching the mixture transform into a glossy sauce. This is where the dip gets its luxurious texture, and the aroma of warm dairy fills the kitchen like a comforting hug.
- Add the diced jalapeños, garlic powder, and lime juice. The jalapeños will release their heat almost instantly, and the lime will brighten the entire mixture with a citrusy pop. Stir gently, letting the flavors meld for about two minutes; you’ll notice the dip taking on a slightly greener hue from the lime. Taste at this point—if you prefer more heat, add the second jalapeño now; if you want more tang, a squeeze of extra lime won’t hurt.
- Toss in the diced tomatoes and let them simmer for another minute. The tomatoes will soften just enough to release their juices, which will blend into the dip, adding a subtle sweetness and a hint of acidity. Keep an eye on the edges of the pan; you’ll see them start to pull away from the skillet, a visual cue that the dip is ready to be taken off the heat. This is the trickiest step—if you leave the dip on the burner too long, it can become too thick and start to stick.
- Season with salt and freshly cracked black pepper to taste. Because the cheese already contains some salt, start with a modest pinch and adjust gradually. Remember, you can always add more, but you can’t take it away. Give the dip one last gentle stir, making sure the seasoning is evenly distributed. The aroma now should be a harmonious blend of creamy cheese, bright lime, and a whisper of jalapeño heat.
- Transfer the dip to a serving bowl, sprinkle fresh cilantro on top if you like, and serve immediately with tortilla chips, warm pita wedges, or even sliced veggies. The dip will stay warm for about 15 minutes; if you need to keep it hotter, place the bowl over a low simmering pot of water (a double boiler). That gentle heat will keep the dip silky without turning it into a greasy puddle. Picture yourself pulling this out of the skillet, the whole kitchen smelling incredible, and your friends hovering, eyes wide with anticipation.
That's it — you did it. But hold on, I've got a few more tricks that'll take this to another level...
Insider Tricks for Flawless Results
The Temperature Rule Nobody Follows
Never, ever crank the heat to high when melting cheese. High heat forces the protein fibers to contract too quickly, resulting in a rubbery texture. Keep the stove at medium‑low and be patient; the cheese will surrender slowly, giving you that coveted glossy finish. I once tried a “speed melt” and ended up with a curdled disaster that tasted like burnt rubber. Trust the low heat, and the dip will reward you with silk.
Why Your Nose Knows Best
Your sense of smell is the best indicator that the dip is ready. When the buttery aroma deepens and you catch a faint citrus note from the lime, you’re at the perfect moment to pull the pan off the heat. If you rely solely on visual cues, you might miss the subtle shift that tells you the cheese has fully emulsified. So, close your eyes for a second, inhale deeply, and let your nose be the judge.
The 5‑Minute Rest That Changes Everything
After you’ve transferred the dip to its serving bowl, let it sit uncovered for five minutes. This short rest allows the flavors to marry, and the dip thickens just enough to cling to chips without dripping. I’ve seen people serve it straight from the skillet, and the result is a runny mess that slides off the chip. Patience at this stage is the difference between “good” and “legendary.”
Seasoning at the End, Not the Beginning
Adding salt too early can draw moisture out of the cheese, making the dip watery. Wait until the dip is fully melted and just before you serve to season. This ensures the salt stays on the surface, enhancing the flavor without compromising texture. A friend once salted at the start and ended up with a soupy dip that never thickened—lesson learned.
The Secret of Fresh Shredded Cheese
Shred your cheese just before you start cooking. Freshly shredded cheese releases its natural fats more evenly, giving you a smoother melt. Pre‑shredded cheese often contains anti‑caking agents that can cause graininess. If you must use pre‑shredded, give it a quick toss in a dry skillet for a minute to evaporate excess moisture before adding it to the pan.
Creative Twists and Variations
This recipe is a playground. Here are some of my favorite ways to switch things up:
Spicy Chipotle Kick
Swap the fresh jalapeños for one chipotle pepper in adobo sauce, finely minced. The smoky heat adds depth and a reddish hue that makes the dip look even more appetizing. Perfect for those who love a smoky undertone.
Herbaceous Green Goddess
Blend in a quarter cup of fresh spinach and a tablespoon of chopped parsley during the final stir. The greens not only boost nutrition but also give the dip a vibrant green color that’s perfect for spring gatherings.
Cheesy Tex‑Mex Fusion
Add a half cup of black beans and a sprinkle of cumin when you introduce the tomatoes. The beans add heartiness, while cumin introduces an earthy warmth that pairs beautifully with the lime.
Breakfast Bonanza
Fold in scrambled eggs and a dash of hot sauce right before serving. The result is a creamy, cheesy scramble that works as a hearty breakfast dip for toast or breakfast tacos.
Sweet & Tangy Twist
Stir in a tablespoon of pineapple chunks and a pinch of smoked paprika. The sweet pineapple balances the heat, while the paprika adds a subtle smoky flavor that makes the dip unforgettable.
Storing and Bringing It Back to Life
Fridge Storage
Transfer any leftovers to an airtight container and refrigerate for up to three days. The dip will thicken as it cools; simply reheat gently on the stovetop over low heat, adding a splash of milk to restore its silky consistency. A quick stir will bring it back to life, and the flavors will have deepened, making it even more delicious.
Freezer Friendly
Yes, you can freeze this dip! Portion it into freezer‑safe bags or containers, leaving a little headspace for expansion. Freeze for up to two months. When you’re ready to enjoy, thaw overnight in the fridge, then reheat on low with a drizzle of milk, stirring constantly to avoid separation.
Best Reheating Method
The stovetop remains the champion for reheating. Place the dip in a saucepan over low heat, add a tablespoon of water or milk per cup of dip, and stir continuously. The added liquid creates steam, reviving the creamy texture without turning the dip grainy. Avoid microwaving—microwaves heat unevenly and can cause the cheese to seize up, ruining that perfect mouthfeel.